This tutorial is for client-managed Dedicated Servers or VPS servers, not running a Control Panel administration (i.e. – not running Plesk or Helm).
** Before you set up DNS on your server, be sure you have registered your private nameservers at your Domain Registrar. Tutorials for the most common domain registrars are available in our Knowledge base.
PART 1 – DNS SERVER INSTALLATION
To install a DNS server from the Control Panel, follow these steps:
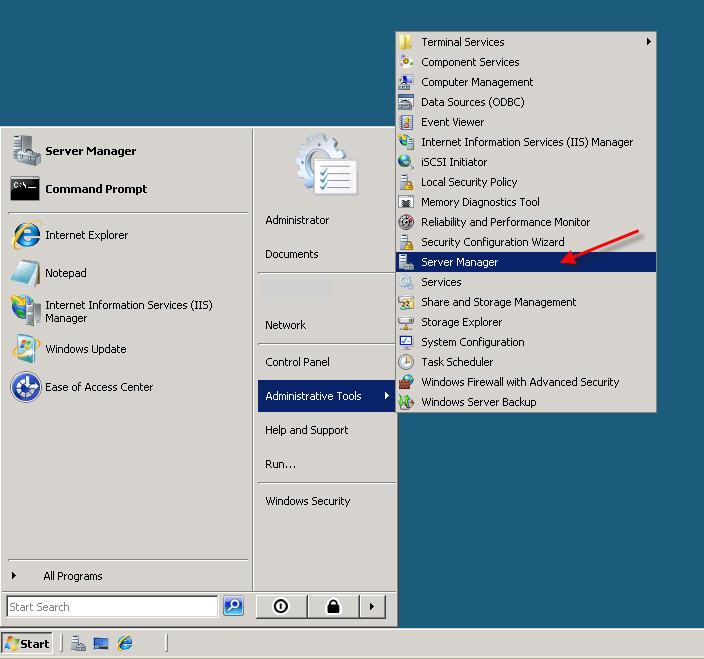
From the Start menu, select Administrative Tools –> Server Manager.
Expand and click Roles from the left window. Choose Add Roles

Follow the wizard by selecting the DNS Server role (leave any previously checked items checked)
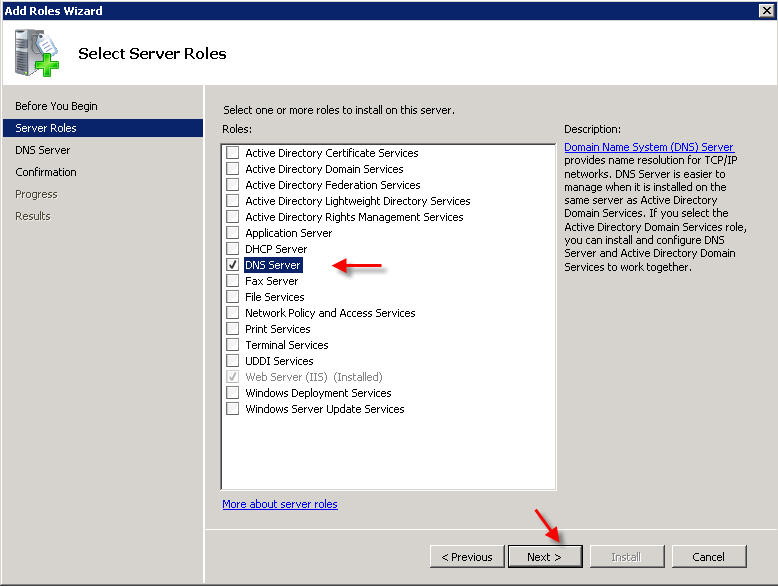
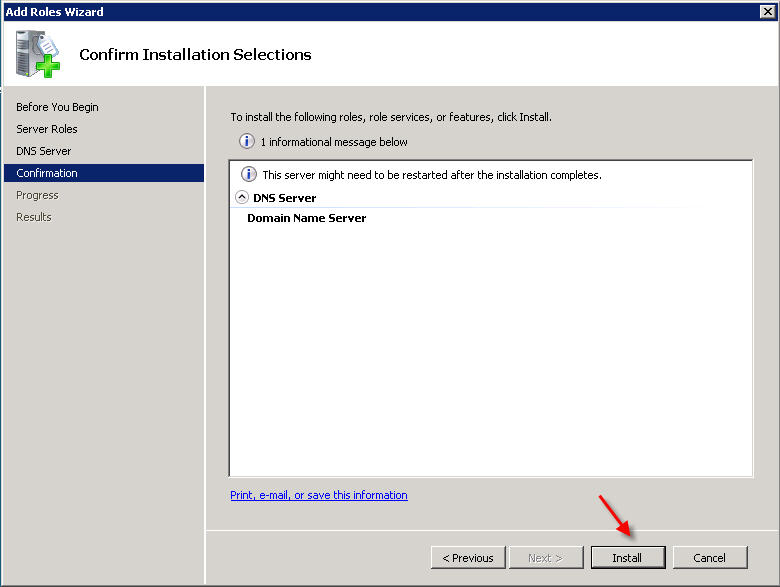
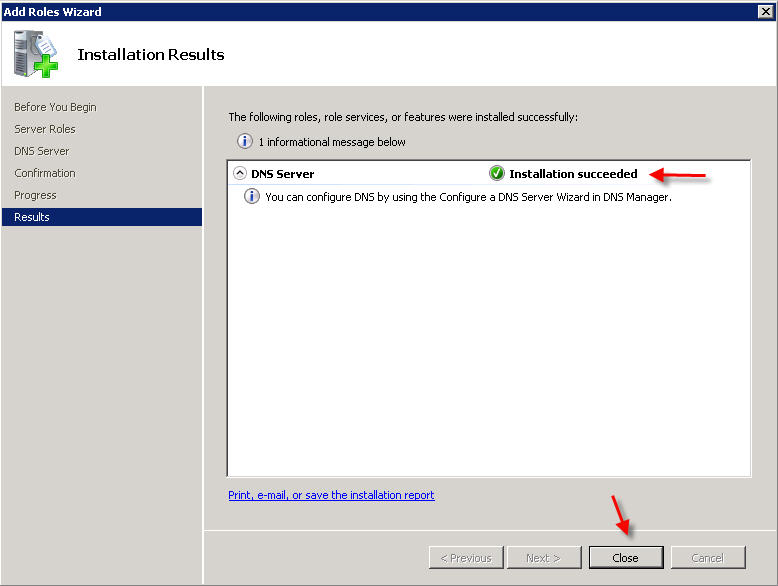
Click NEXT and then INSTALL to install DNS in Windows Server 2008
PART 2 – DNS SERVER CONFIGURATION
From the Start menu, select Administrative Tools –> DNS to open the DNS console.
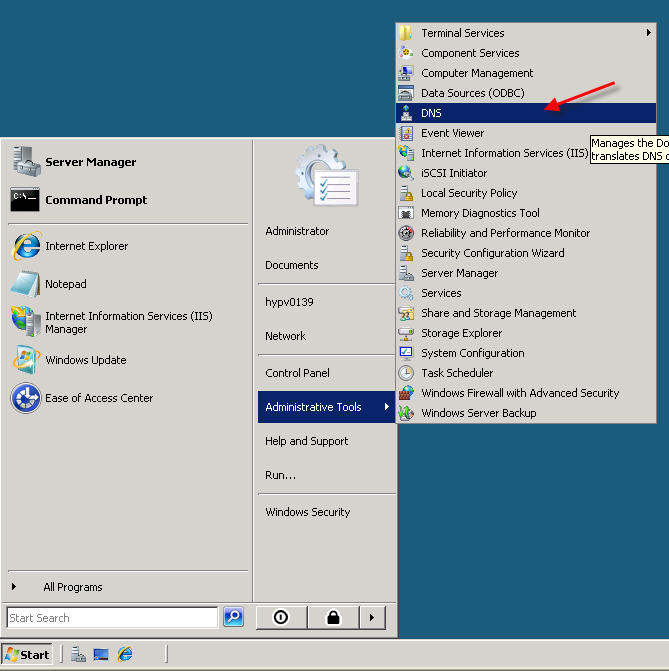
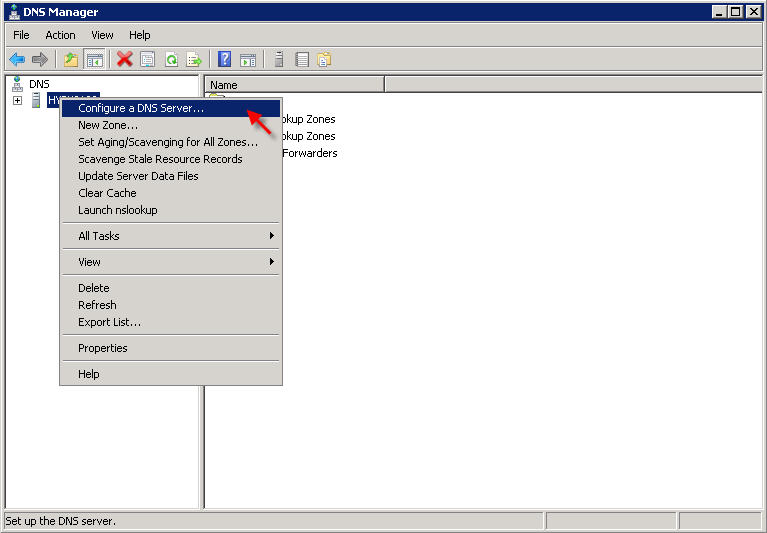
Highlight your computer name and choose Configure a DNS Server to launch the Configure DNS Server Wizard.
Click NEXT and then select the first option, Create a Forward lookup zone

On the next screen, leave the default option selected, This Server maintains the zone, and click NEXT
Now you will need to enter the domain name that you want to create your first zone file for. We are using "example.com" in this tutorial:
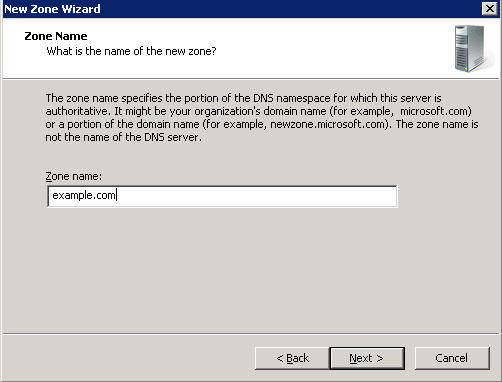
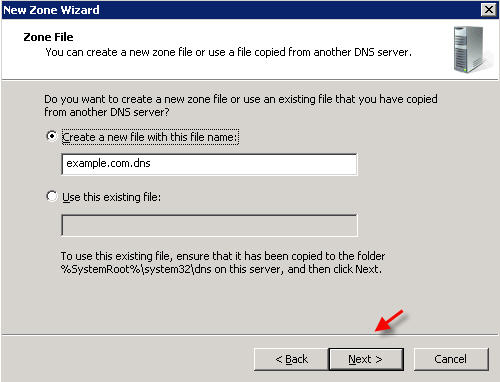
Click NEXT, and NEXT again on the next two screens
 Â
Â
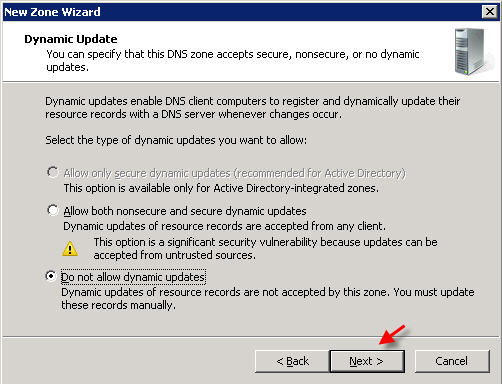
On the Forwarders screen, select the option "No, it should not forward queries"
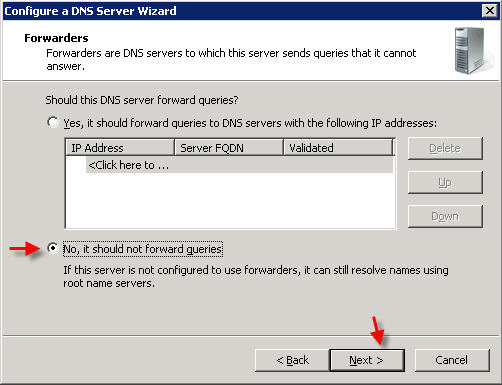
Click FINISH
PART 3 – MANAGING DNS RECORDS
There are many types of DNS records, this is a basic tutorial and will show you how to point your domain name to the IP address you assigned to your web site via an A record. You can also create other types of DNS records (MX, CNAME,etc) in a similar fashion.
In DNS Manager, expand your server name, then expand the ‘Forward Lookup Zones’ , right-click on your domain name and select Properties
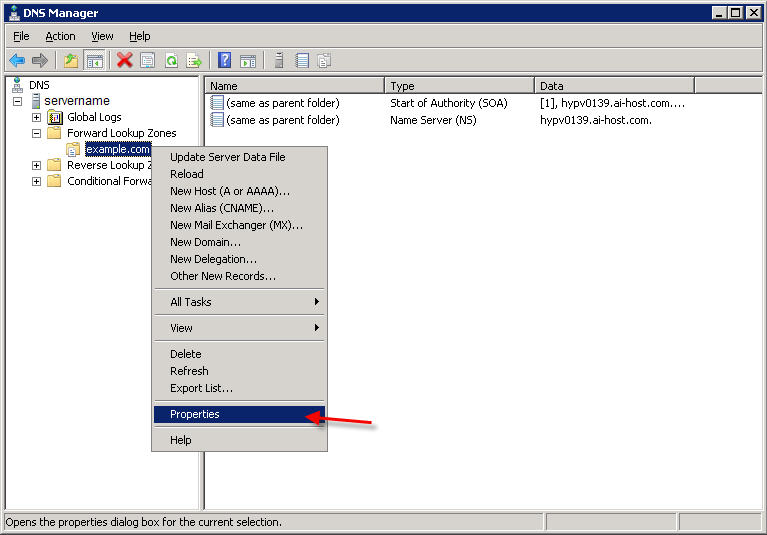
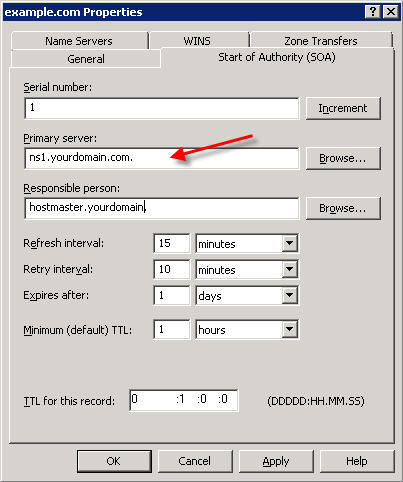
Click on the Start of Authority (SOA) tab.
The SOA resource record is always the first record in a DNS zone. Set the Primary Server to your primary nameserver:
Next, click on the Name Servers tab.
Remove anything currently listed, and click Add and enter your nameservers (i.e. – ns1.yourdomain.com , ns2.yourdomain.com)
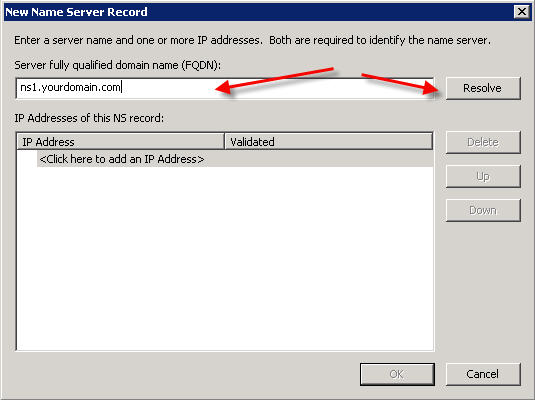
When done, click OK to close the window. You are now ready to set up your zone records.
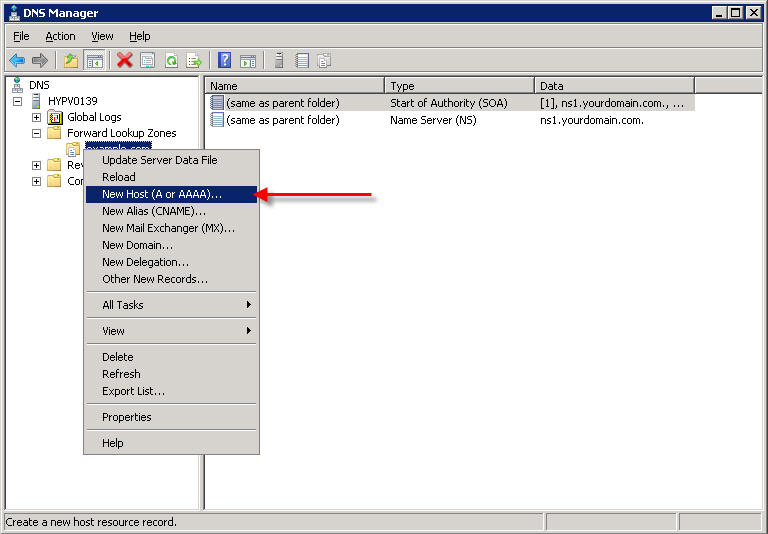
Right-click on your domain name under Forward Lookup Zones, and select New Host (A or AAAA)…
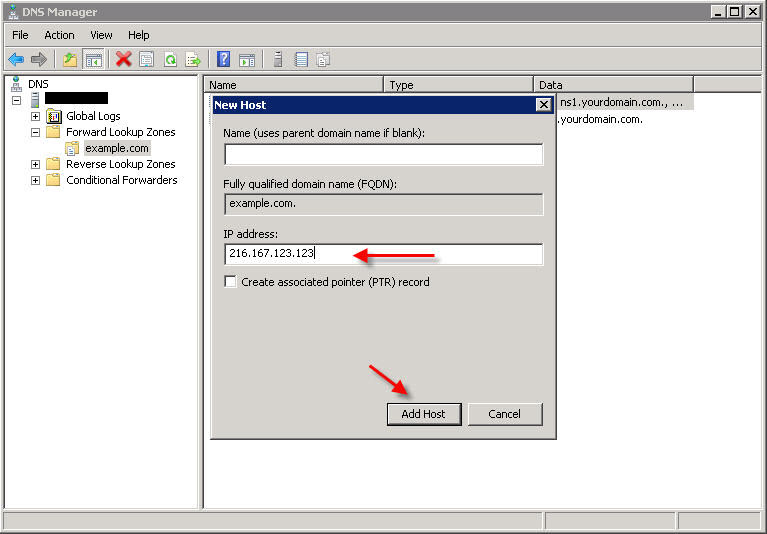
Leave the Name field blank, and under IP Address, enter the IP address you configured for this web site in IIS, and click Add Host.
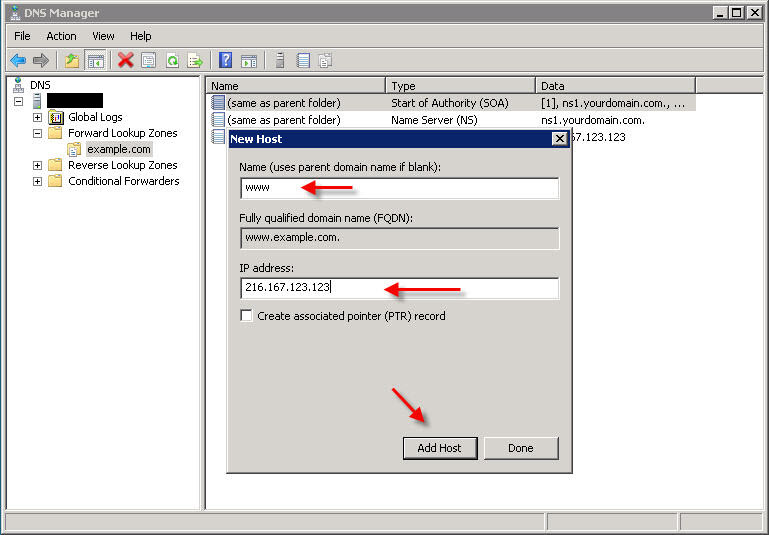
You will most likely also want to make a record for ‘www’, so repeat the above step but this time instead of leaving the Name field blank, enter www in that field:
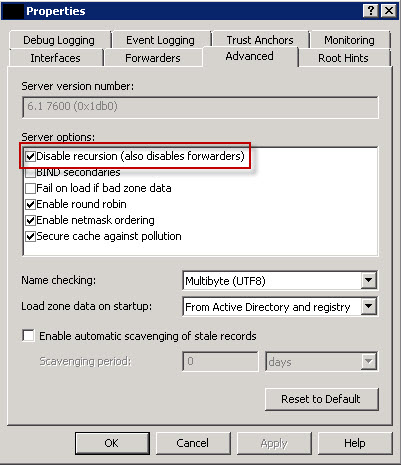
PART 4 – DISABLE DNS RECURSION
The final step you’ll want to perform is to disable DNS recursion. This will help secure your server from a variety of DNS recursion attacks.
To disable recursion, right-click on your DNS server and go to ‘Properties‘.
Click the ‘Advanced‘ tab.
Then check the box labeled "Disable recursion"
Congratulations! You have now set up DNS in Windows Server 2008 and have set up DNS records for your domain name.
You can create additional DNS records as needed (MX, CNAME, etc) by right-clicking on the domain under Forward Lookup Zones and selecting the appropriate type of record you wish to create.
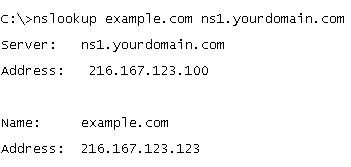
You can test that your DNS server is properly serving DNS from a Windows command prompt, by using the nslookup command in this format:
nslookup example.com ns1.yourdomain.com
For example:
Content retrieved from: https://support.appliedi.net/kb/a215/how-to-install-and-configure-dns-on-windows-2008-server.aspx.