How to Create and Setup a DomainKey / DKIM
Before you start, you should set up an SPF record for your domain name. Please refer here for a tutorial on generating an SPF record.
To setup a DomainKey for your domain, you will first generate the DomainKey in Smartermail, and then add the DNS entry through your Webhosting Control Panel.
In the example below, we are using acme-hosting.net as the example domain we are setting up a DomainKey for. Please replace this domain with your actual domain name when setting this up.
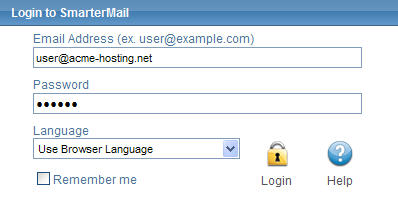
Log into SmarterMail as the Primary Domain Email Administrator for your domain. (If you have never set up an email administrator, please contact our Support Department and let us know which email user you’d like set up as the Email Domain Administrator)
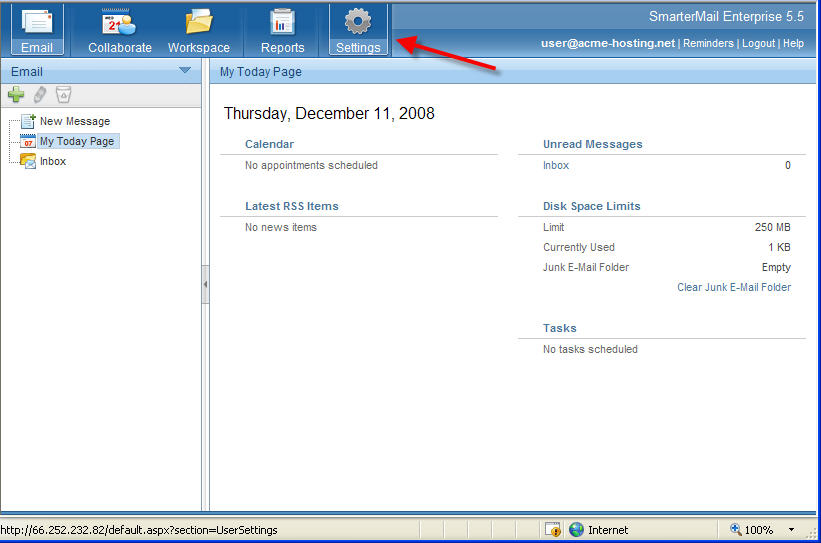
Once logged in, click the Settings button:
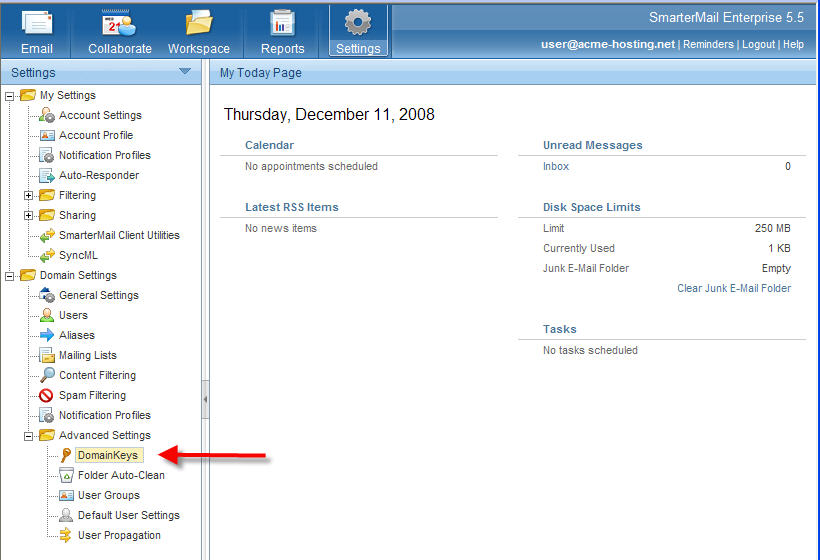
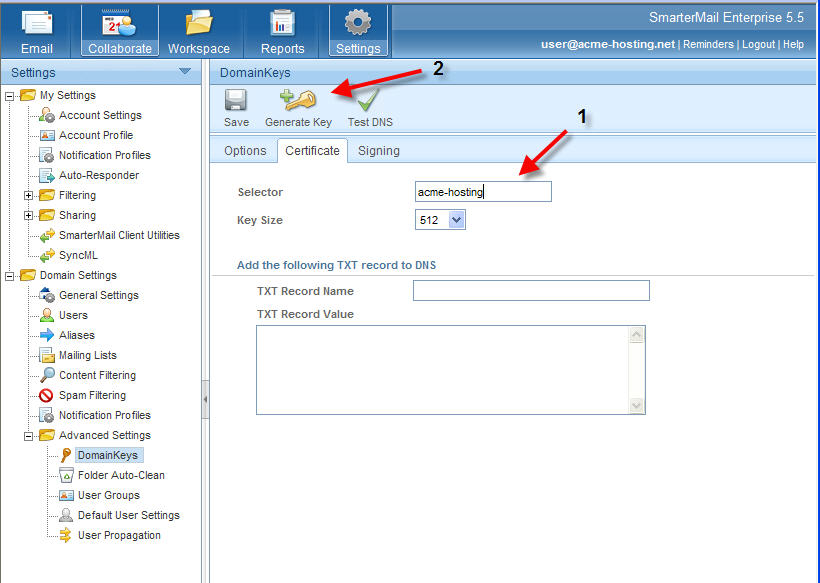
Expand the Domain Settings folder, and then the Advanced Settings folder, and click DomainKeys:
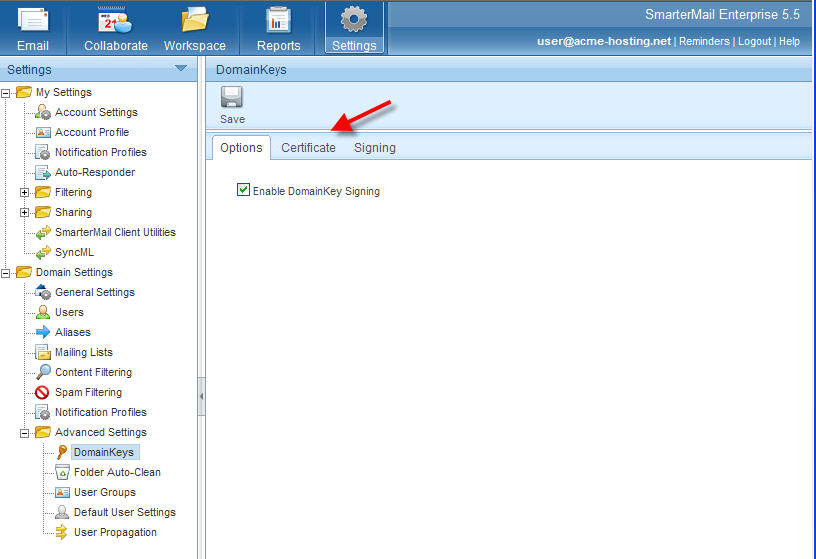
Make sure "Enable DomainKey Signing" is checked ON, and then click the Certificate tab:
In the "Selector" field, type your domain name without the extension (i.e. – for acme-hosting.net, just enter acme-hosting), and click the Generate Key button.
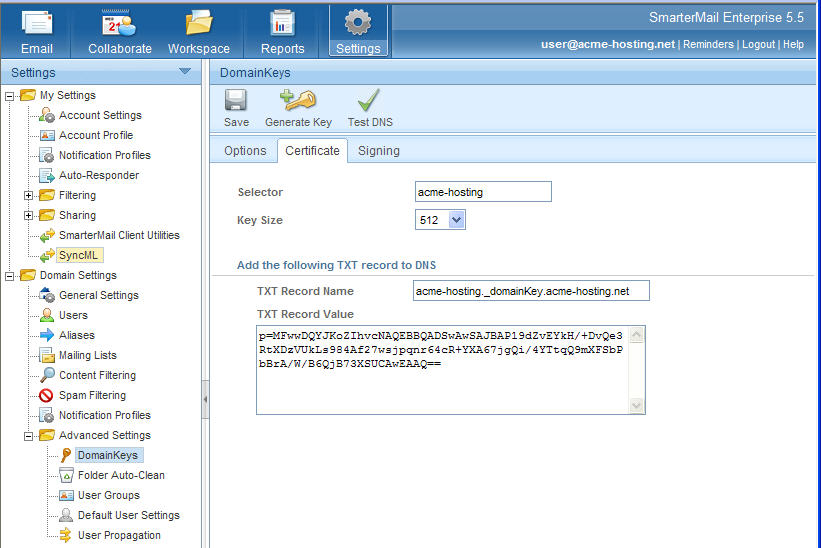
The other fields will auto-populate:
Click the ‘Save‘ button.
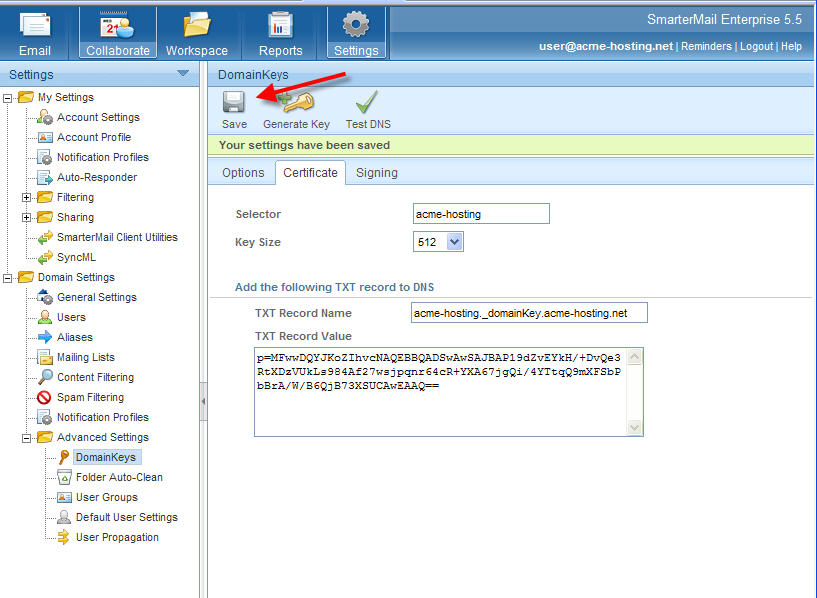
This is the information you will need for the following steps when you enter this information into your Domain’s DNS Zone:
Make a note of the above information, or open a new browser window, and log into your hosting control panel (https://control.appliedi.net or https://webpanel.appliedi.net/)
The example below applies to HELM (control.appliedi.net) but the idea is the same regardless of where you manage your DNS records.
Once logged in, click on ‘Domains‘, and then on the domain name you are setting up the DomainKey for.
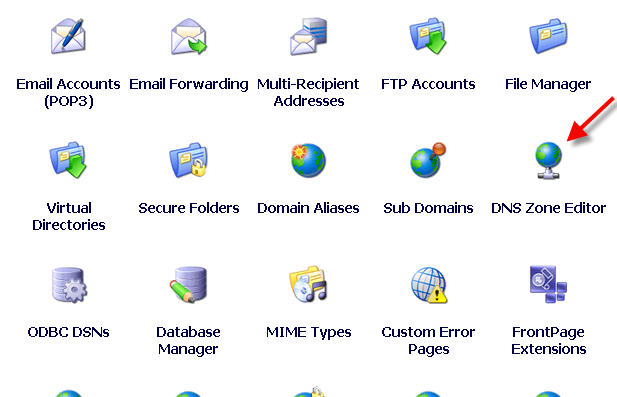
From the Domain Menu, click the DNS Zone Editor button:
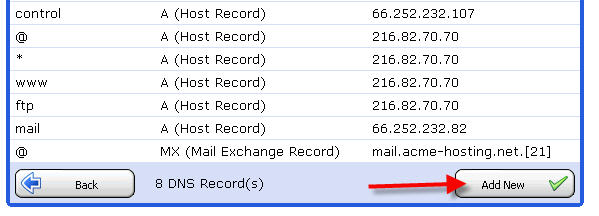
In the DNS Zone Editor, click Add New so we can add the first record:
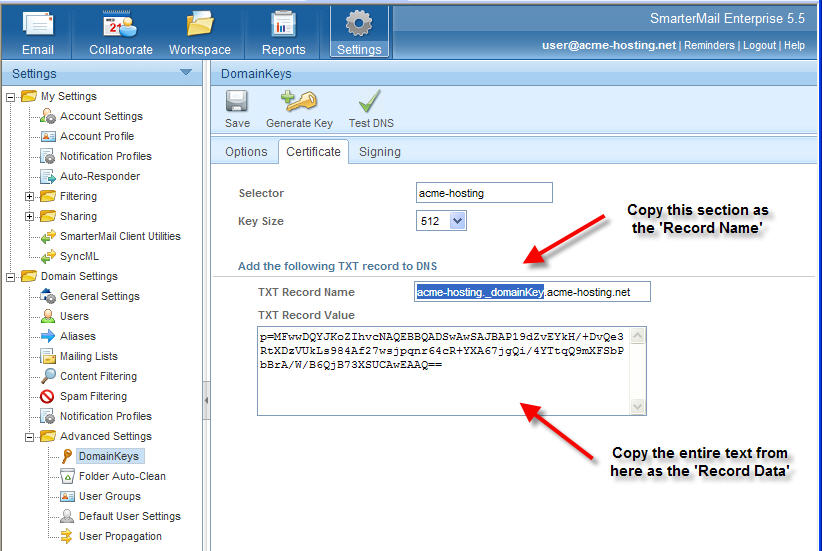
Enter your DomainKey information from SmarterMail as shown in the example below.
Be sure to select TXT as the Record Type, and to copy from SmarterMail only the first part of the Record Name (up to and including the _domainKey section):
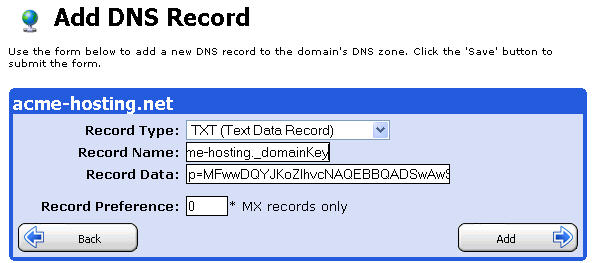
Click Add.
Now we will enter the 2nd part of our DomainKey record. In the DNS Zone Editor section in your control panel, click Add New again and add the new record as shown below:
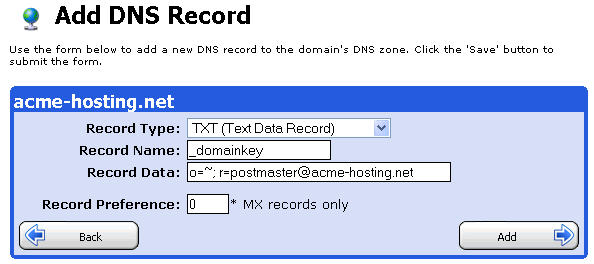
(be sure to set up the postmaster email address or email forwarder if you do not already have this set up)
Click Add.
You are now finished setting up a DomainKey for your domain.
A link to a 3rd party testing tool you can verify your settings with is below, but please wait about 15-20 minutes before using the testing tool for the DNS changes above to take effect:
NOTE:
For 2048 bit keys and higher, please open a support ticket so we can add this manually to the DNS for you, as the DNS record will not properly save when adding long keys via the control panel. We will need to paste your key in two lines in your TXT record manually on the DNS servers.
Content retrieved from: https://support.appliedi.net/kb/a1036/how-to-create-and-setup-a-domainkey-dkim.aspx.