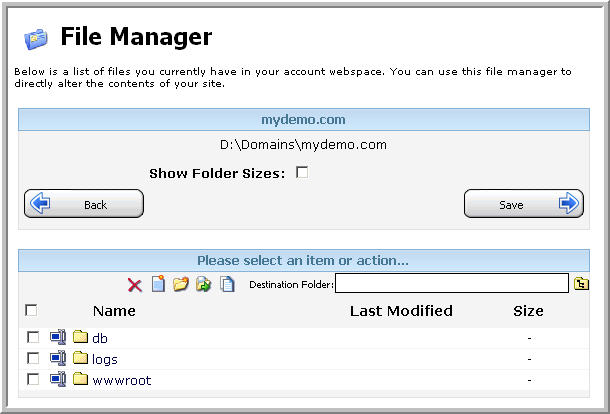
The File Manager lets you browse, create, and move folders and documents for your domain. Choose œFile Manager from the Domain Menu.

The above screenshot shows a typical new domain. The œShow Folder Sizes checkbox is not checked by default, but you can check this and click œSave if you wish to see the contents. You can click on any folder to see its contents.
Creating Files
You can create a file by clicking the Create File icon:

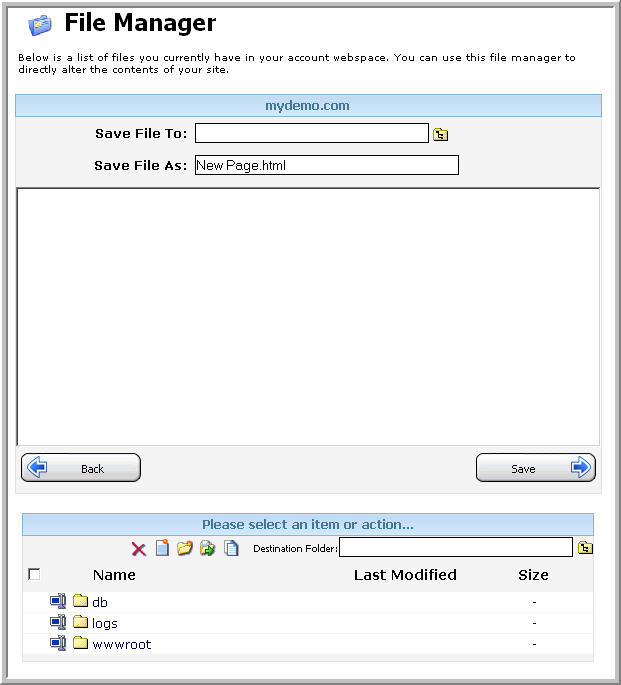
This will then bring up an editor within which you can create your file content, and then save it as a file type of your choice:

Once done, click œSave, and then click œBack to return to the main File Manager menu. You will see the file there, along with details about the last modified date, and its size.
Creating Folders
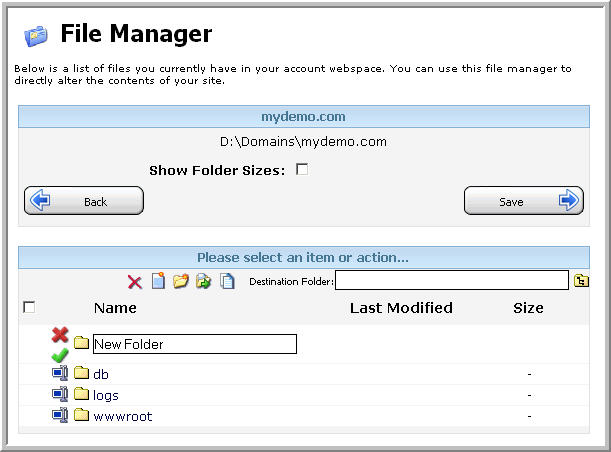
You can create folders here as well. Simply click the Create New Folder icon (see screenshot below) then choose the folder name, and click the tick button.

Renaming Folders/Files
To rename a folder/file, simply click the Rename Folder icon:

Then click the tick button to save.
Editing Files
To edit a file, simply click it in the list. It will then open in an editor and you can change it as necessary. Click œSave to resave it.
Deleting Folders/Files
To delete files or folders, check the box next to them, then click the Delete icon:

Moving Folders/Files
To move a file, check the box next to the item you want to move. Then either use the file browser icon next to the Destination Folder text box to choose where you want to move the file to, or simply type it in the text box. Now click the Move icon to move it to the selected destination. You can then go to the destination folder, and see the file/folder has been moved there.
Copying Folders/Files
The Copy icon works exactly the same as the Move button, except that a copy of the file(s)/folder(s) are made in the Destination Folder whilst keeping the original file(s)/folder(s) in the same place:

Content retrieved from: https://support.appliedi.net/kb/a37/how-do-i-use-the-file-manager.aspx.
