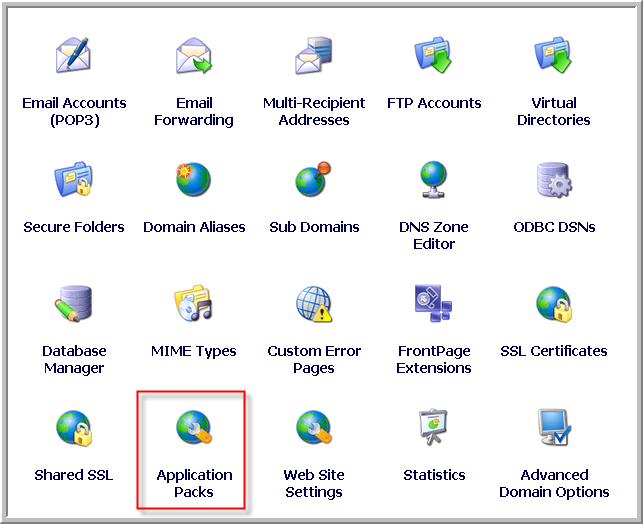
First log into your control panel at https://control.appliedi.net/default.asp and access the domain menu for the domain you wish to work with. The menu should look similar to the below image:
From this menu you’ll want to select the Application Packs menu item. This will bring up the Applications Packs menu as shown below:
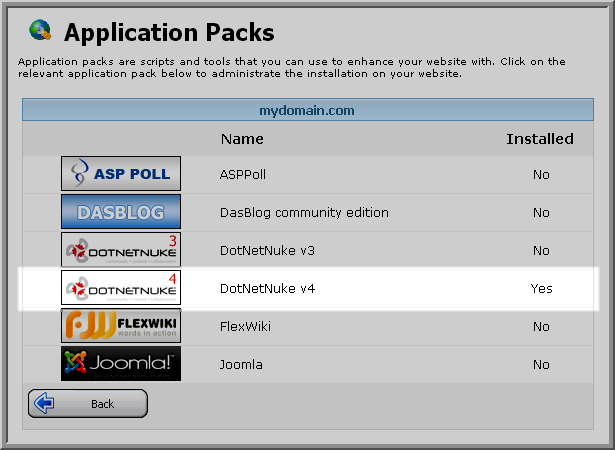
You’ll notice that if an Application was previously installed it will say "Yes" in the Installed column as shown above with DotNetNuke v4. You’ll want to click on the icon for the Application you wish to uninstall, in this case DotNetNuke v4. You’ll be presented with a page similar to the below page:
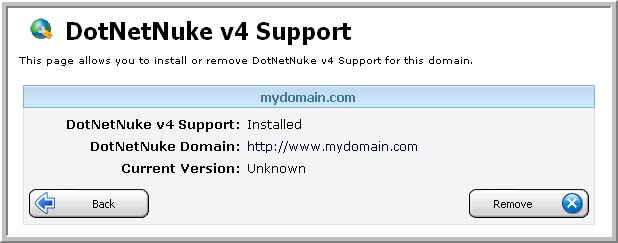
In order to uninstall/remove the files simply click on the "Remove" button. Once uninstalled you will receive a confirmation message that the Application was uninstalled. DotNetNuke
NOTE: You’ll want to check your current databases to see if the database was removed or not. If the database was not removed you may continue to be billed for database space. Additionally some uninstallers do not delete the web files associated with an application pack and may require you to manually delete those files.
Content retrieved from: https://support.appliedi.net/kb/a58/how-do-i-remove-or-uninstall-an-application-pack.aspx.