Using Easy DNN Migrator
Easy DNN Migrator allows you to automatically move a DotNetNuke site from it’s existingwebhosting provider to Applied Innovations. Once the module is installed on your site, you’ll copy and paste 5 simple details and then execute the migration wizard. The Migration wizard willbackup your database and all your website files to a zip file, then FTP that zip file to your newhosting server, unzip it, restore the database and add a new domain alias so you can test your sitewithout affecting your existing site. Once everything tests out you’ll just transfer DNS and you’remigrated!We’ll step you through the process, step-by-step now in detail.
Visit your new AppliedI hosted account

When you get your welcome email, you’ll have a temporary URL to work with. This temporary url will be of the format: http://yourdomain.com.mytempweb.net. When you first access this site you’llsee the start page for the Easy DNN Migrator.
Click the Download AppliedI DNN migrator link

Click the Download link to download the Easy DNN Migrator module. You’ll download a zip file.This zip file is the DNN Extension / Module that we’ll install on our production DNN site now.
Log into your Existing DNN website as host

You’ll want to log into your DNN website as the host user. Typically you can access the login pagevia http://yourdomain.com/login.aspx or clicking on the login page. Make sure you’re logging in asa user with host level access.

Access Extensions Under Host Menu

After you’re logged in as a host user, you’ll want to access the extensions menu item under the host menu.
Install the Easy DNN Migrator Wizard

1. Click on the "Manage" button
2. Click on "Install Extension Wizard"

The first step of the extension wizard is to upload the extension we’re planning to install. From thewizard, select choose file.

This will bring up a file explorer and you’ll locate the "Easy DNN Migrator" Extension zip file named"AppliedI.DnnMigrator_install.zip". Select it and click open.

Click the "Next" button and the file will upload and take you to the next step (don’t worry the file issmall and should not be a problem)

Review Module details and click Next

Review the release notes and click "Next"

Review the license agreement, click the checkbox to accept the license and then click "Next".

Review the installation and make sure everything worked correctly. if so click the "Return" button.Give the site a moment to recompile with the new extension and reload and then the module isinstalled and we’re able to start using it.
Using Easy DNN Migrator

The Easy DNN Migrator is labeled "Appliedi DNN Migrator" and found under Host -> Appliedi DNNmigrator. Click on it to get started.

When the Easy DNN Migrator comes up you’ll see a screen like above. You’ll want to copy and paste the following items from your getting started email:
1. FTP Server Host Name:
2. Site Path:
3. Username:
4. Password:
5. SQL Server Database:
All of these are found in your Getting Started Email you received.

Some hosts place CPU restrictions on their hosting accounts, if your host does this you’ll need to check this box. Our recommendation is try it without checking this box first and then try it checked ONLY if the application fails.
Finally, click the "Begin Migration" button to begin the migration process.

If everything is entered correctly the process will begin as showing above.

Once it backs up the database, it will begin backing up the web files.

It wil then ZIP everything into one zip file and start FTP’ing it up to the new server. This may take awhile depending on the size of your website and database.

Once the backup is completed, please review the log to make sure everything was successful withthe backup. At this point you’ll see that the file transferred successfully and you’re not ready toreload your AppliedI hosted website so we can Restore our Backup we just sent over.

Press Reload in your browser.

After pressing Reload the page will look like above, click the "Complete Migration" link to continue.

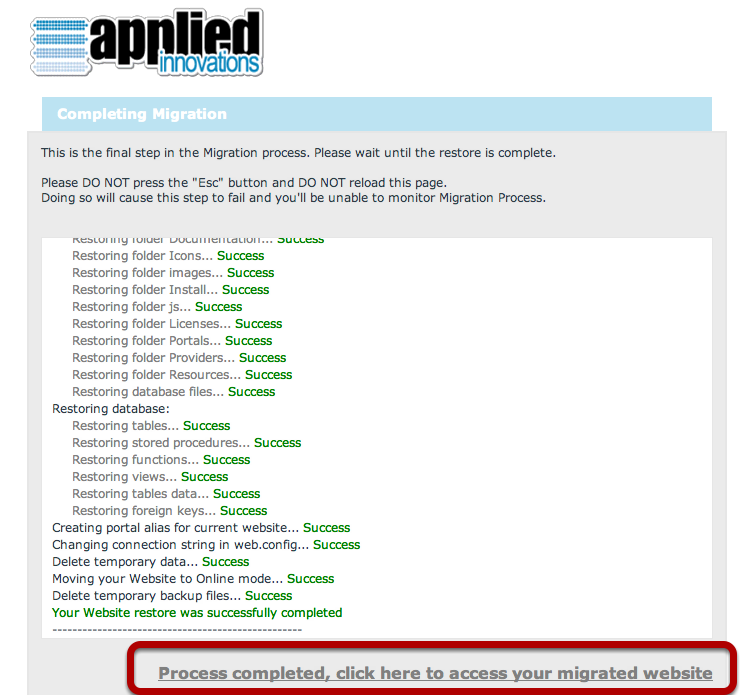
The restore begins running by first restoring all the web files.

Once the files are restored, then the database is restored, a portal alias is created for the newtemporary URL and then the temporary files deleted. Lastly we need to click the "Processcompleted, click here to access your migrated website"

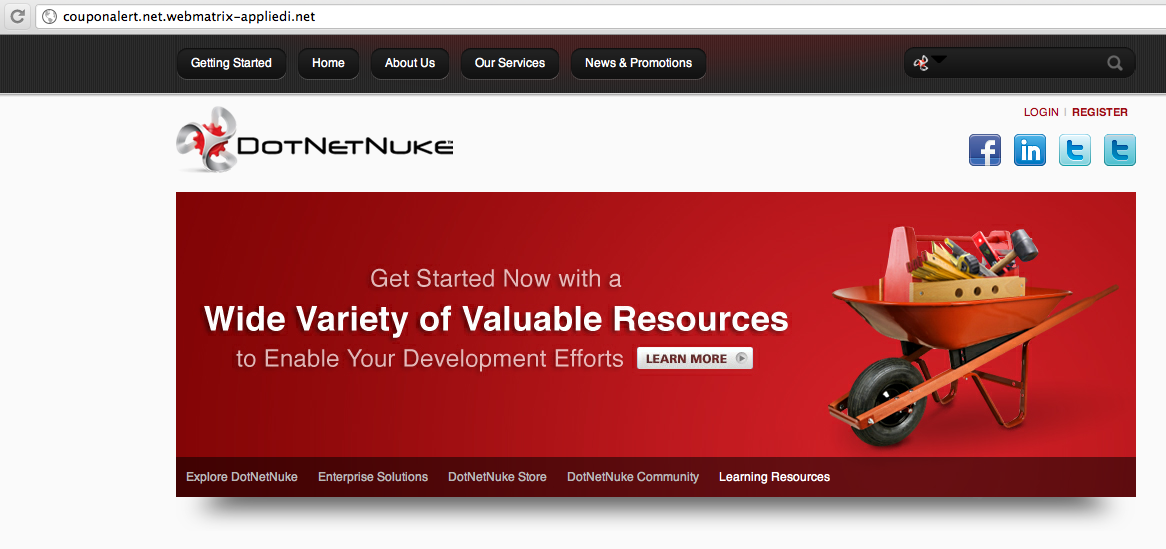
That will reload your site and you’re now migrated! Just that easily! Last steps, verify everything isworking and migrated correctly. Once done, just update your DNS and your website is migrated!
We recommend you get a full backup including a SQL backup from your existing web host andstore that for safe keeping though just in case you run into any problems or need it for future reference.
Last modified: October 18th, 2016 added link -YL
Content retrieved from: https://support.appliedi.net/kb/a1013/using-easy-dnn-migrator.aspx.
