How do I create a virtual directory on my site?
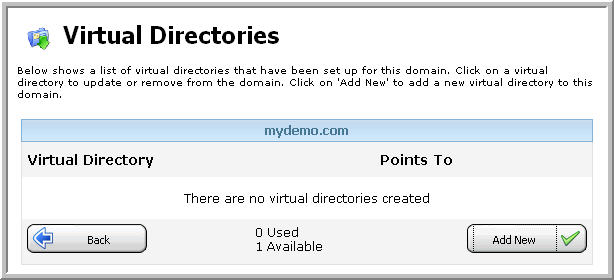
Helm supports the ability to add virtual directories to a domain. In the Domain Menu, choose Virtual Directories, then on the new screen click Add New:
On the new screen, you will have several options:
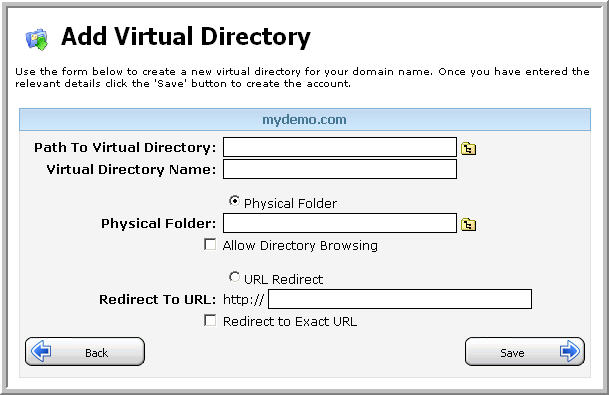
An explanation of each option is as follows:
Path To Virtual Directory: Enter the full path that you want to have in the URL before the virtual directory name. If you want the virtual directory to be created in the root of the website e.g. http://mydomain.com/virtualdir then leave the box blank. If you want to have the virtual directory at http://mydomain.com/apps/net/virtualdir then enter ‘appsnet‘ into the text box.
Virtual Directory Name: This is the name of the virtual directory itself. So if you enter the name shoppingcart here, that is what your virtual directory will be called.
You now have the option of two types of virtual directory:
Physical Folder: By choosing this, you can have the virtual directory point to a physical folder within your web space. If you choose this option, you also have the option to enable directory browsing. This is useful if you wish visitors to the virtual directory to see the contents of the physical folder if there are no default documents to display.
URL Redirect: Alternatively, you can choose this and have it point to a URL of another website that you specify in the box. If you choose this option, you also have the option to redirect to the exact URL. This is useful if you want any file or folder paths visited within the virtual directory to be ignored, and for the visitor to be sent directly to the URL only.
Therefore if you disable this, then if a client goes to http://mydomain.com/virtualdir/abc/page.html then they will be redirected to http://[redirectedURL.com]/abc/page.html automatically.
If you enable this, then if a client goes to http://mydomain.com/virtualdir/abc/page.html they will just go to http://[redirectedURL.com]
Once you have chosen the settings for your virtual directory, click Save. You can then see the virtual directory in IIS.
To delete a virtual directory after it has been created, click the virtual directory from the menu and click Delete, then OK to confirm.
Content retrieved from: https://support.appliedi.net/kb/a39/how-do-i-create-virtual-directories.aspx.