Most web applications are configured to hide detailed errors for security reasons (as sometimes these errors could contain sensitive information).
There are times however where you may need to troubleshoot a problem and need to see the detailed errors in order to narrow down what the problem may be.
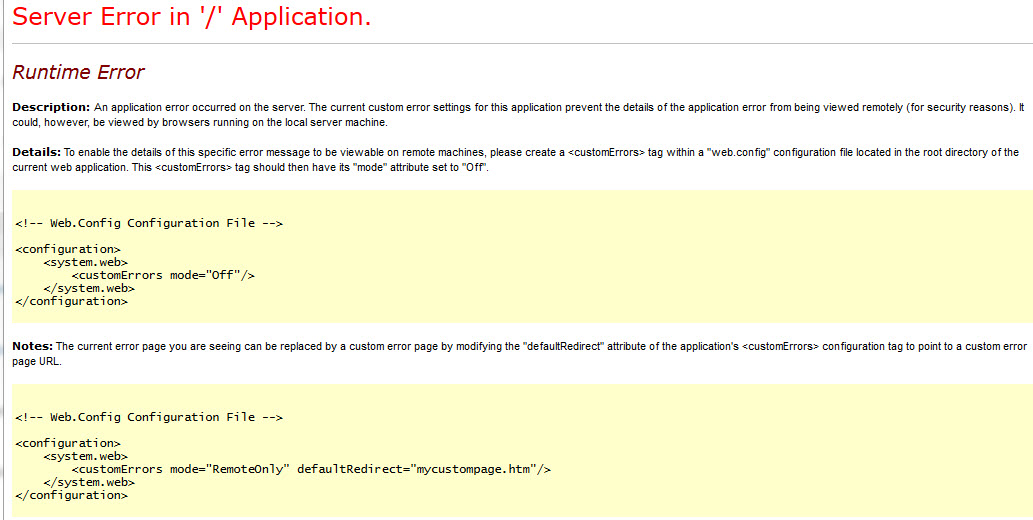
When your application is producing an error and if you see a page similar to the screenshot below, this means that your application is currently configured not to show detailed errors remotely. (Your application may also instead show a custom error page that you’ve programmed into your application, this article also applies in those cases)

To view the detailed errors you will need to modify your web.config file.
First – make a copy of the web.config file for safekeeping as it’s very easy to accidentally mistype something or cause some other issue that will cause your site to stop working, so make sure you copy this file before making any changes so you can revert back if needed.
The change you’ll need to make in your web.config file is as follows:
FOR IIS6 SERVERS:
<configuration>
<system.web>
<customErrors mode="Off"/>
<compilation debug="true"/>
</system.web>
</configuration>
FOR IIS7 SERVERS:
<configuration>
<system.webServer>
<httpErrors errorMode="Detailed" />
<asp scriptErrorSentToBrowser="true"/>
</system.webServer>
<system.web>
<customErrors mode="Off"/>
<compilation debug="true"/>
</system.web>
</configuration>
After the changes are made or added, reload your web page and you should now be able to see the detailed errors.
After you are finished troubleshooting, simply set your settings back to what they were before.
Additional application troubleshooting help can be found at https://support.appliedi.net/kb/a988/application-troubleshooting.aspx
Content retrieved from: https://support.appliedi.net/kb/a1039/how-to-view-detailed-error-messages-for-troubleshooting.aspx.
