This article will show you how to install nopCommerce in https://portal.awesomehosting.com, the new MSPControl Panel for AwesomeCloud shared hosting accounts.
For details on how to log-in to the control panel, visit https://support.appliedi.net/kb/a1348/how-to-login-to-portal_awesomehosting_com.aspx
Step 1. Once logged-in to MSPControl Panel, you’ll see the main page below. This is your hosting space. Click Web Sites.

Click on the screenshot below to enlarge it.

Step 2. You should see the website for which you want to install nopCommerce listed here. If you don’t see it, add the website first by following the steps in https://support.appliedi.net/kb/a1351/how-to-create-a-website.aspx. Then proceed to Step 3 below.
Click on the screenshot below to enlarge it.

Step 3. Click Web App Gallery.
Step 4. In the search box, type keyword nopCommerce
Step 5. Click "Search" (click on the magnifying glass).
Step 6. You will see the nopCommerce web application listed. Click Install.
Click on the screenshot below to enlarge it.

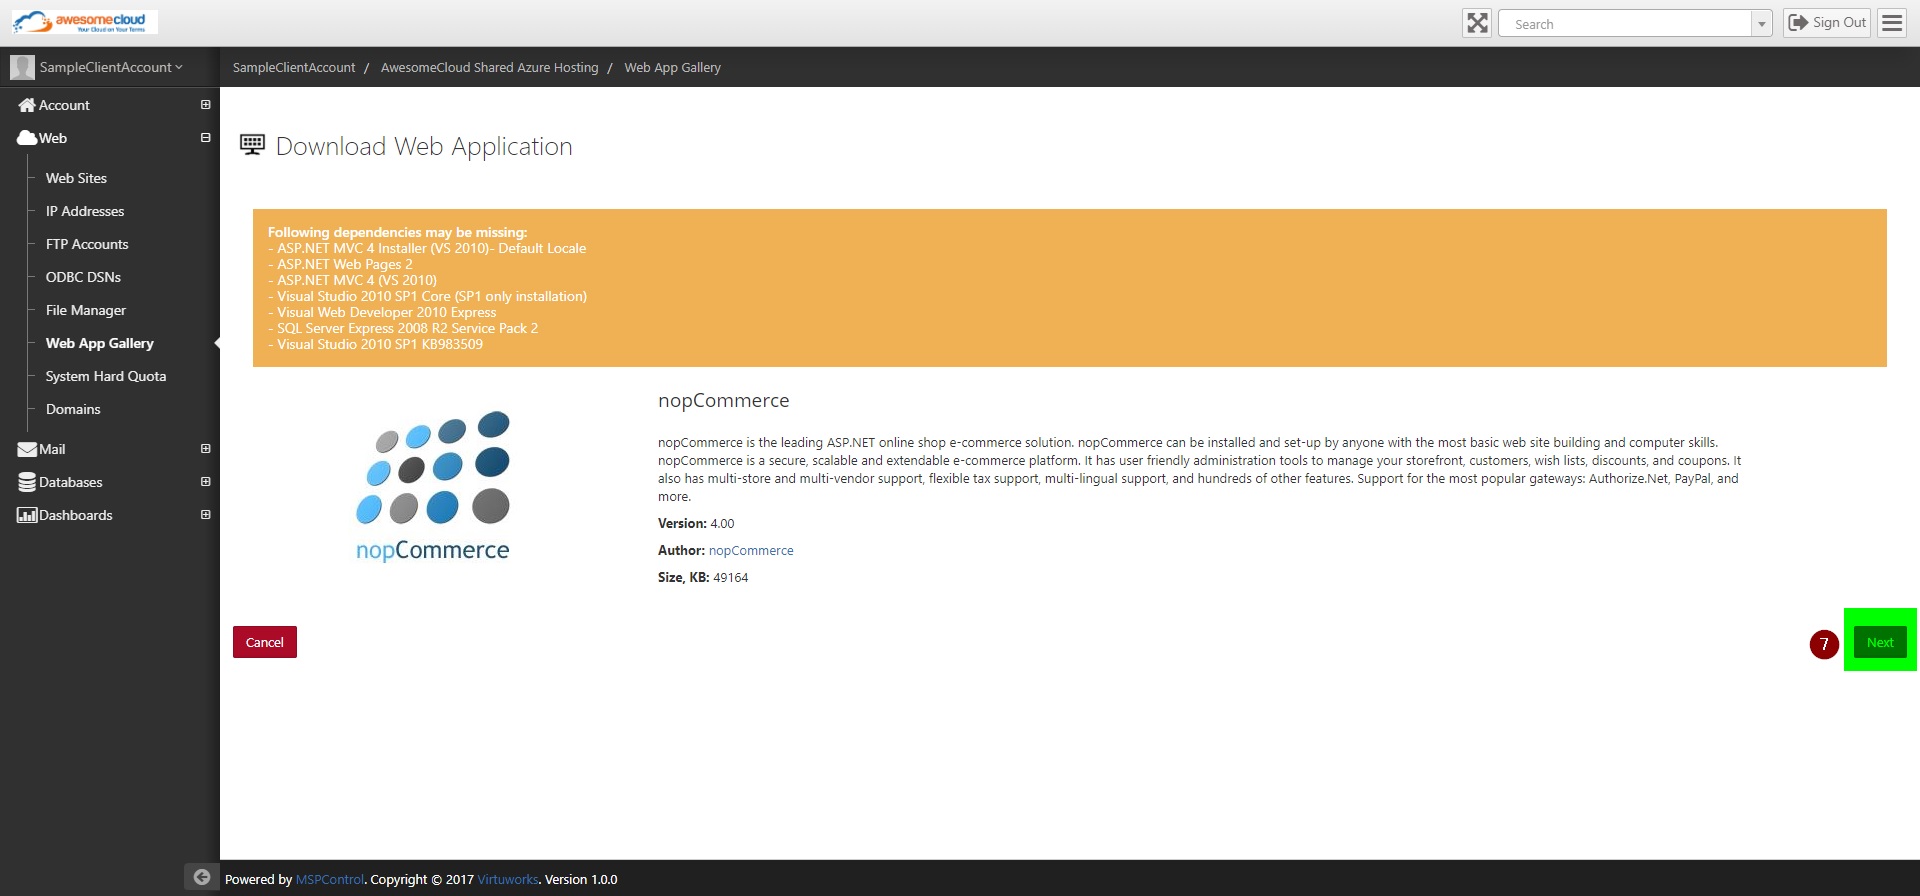
Step 7. Click Next.
Click on the screenshot below to enlarge it.
Step 8. You will see the following status as the application is being installed. This is normal and can take 30-60 seconds.
Click on the screenshot below to enlarge it.

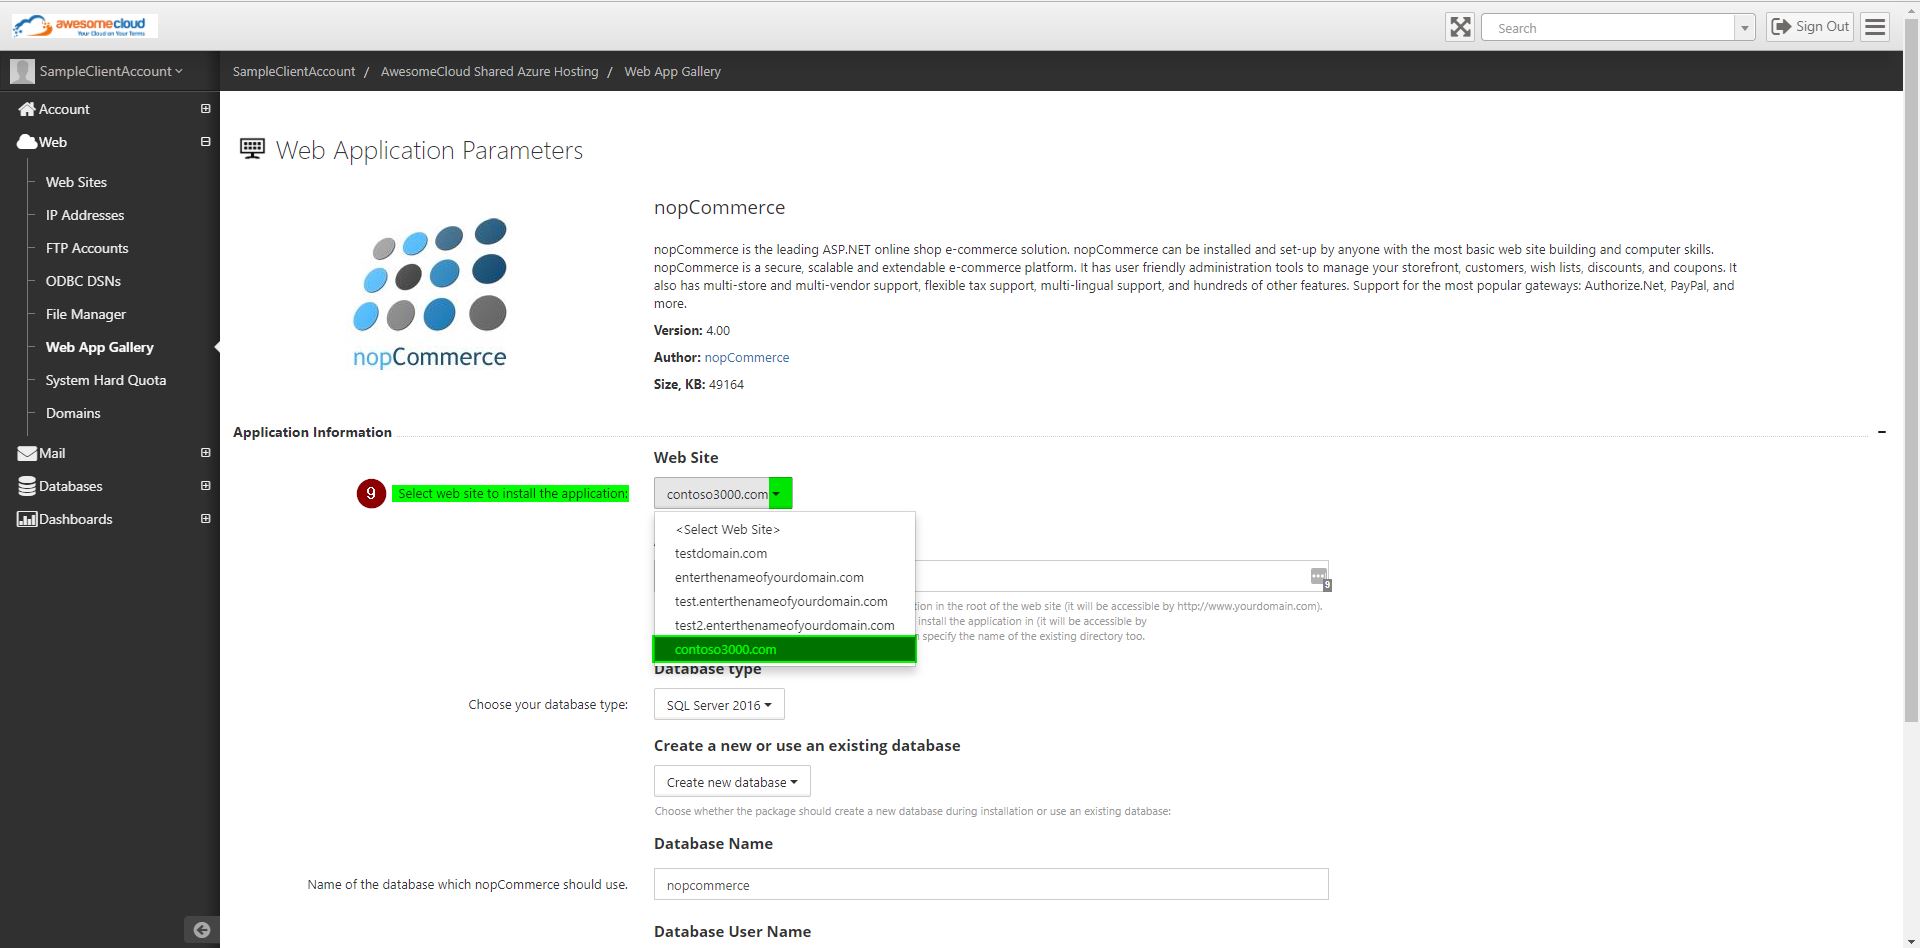
Step 9. Click the drop-down menu and select which site to install nopCommerce on.
Click on the screenshot below to enlarge it.
Optional Step 10. Enter the application name – This will determine where nopCommerce gets installed. If you leave this blank, it will be accessible with yourdomain.com (or in this example, contoso3000.com). If you enter an Application_Name here, it will be accessible with yourdomain.com/application_name (or in this example, contoso3000.com/application_name).
Step 11. Choose your database type.
Step 12. Select whether nopCommerce should create a new database or use an existing database.
Step 13. Enter the name of the database.
Click on the screenshot below to enlarge it.

Step 14. If you chose to use an existing database in Step 12 above, enter the database user name.
If you chose to create a new database in Step 12 above, enter what you want the database username to be.
Step 15. Enter the database password.
Step 16. Re-enter the database password.
Step 17. Click Install.
Click on the screenshot below to enlarge it.

Step 18. You will see the following status as the application is being installed. This can take a few minutes and is normal.
Step 19. You will see the following status confirming that the nopCommerce application has been successfully installed.
© 2018 Applied Innovations. All rights reserved.
Content retrieved from: https://support.appliedi.net/kb/a1357/how-to-install-nopcommerce.aspx.