We recommend running each web site on your server using its own application pool and identity (user)
The steps below demonstrate how to create an IUSR user, create a new application pool for the site, and create the web site.
CREATE THE IUSER USER (WEB SITE IDENTITY):
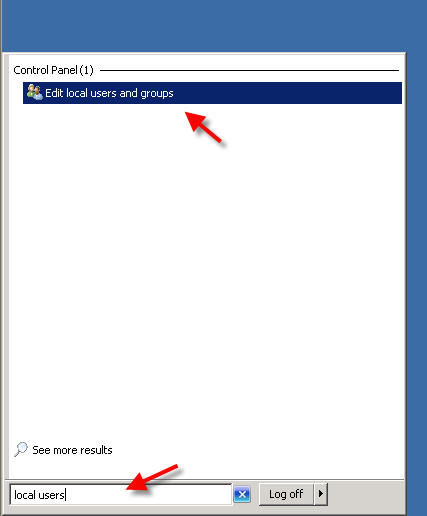
To create the web site user, go to the ‘Edit local users and groups’ control panel:
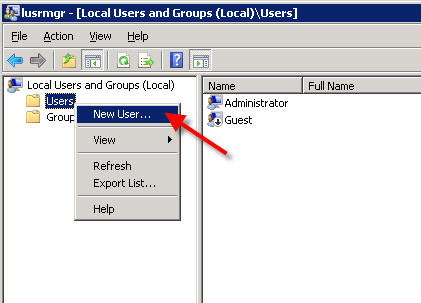
Right-click on the Users folder, and select ‘New User…‘
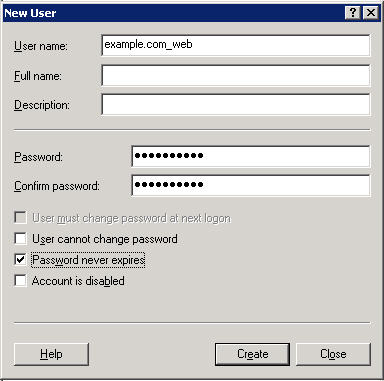
In the New User window, add the User name, password, and set the password to never expire, and click ‘Create’
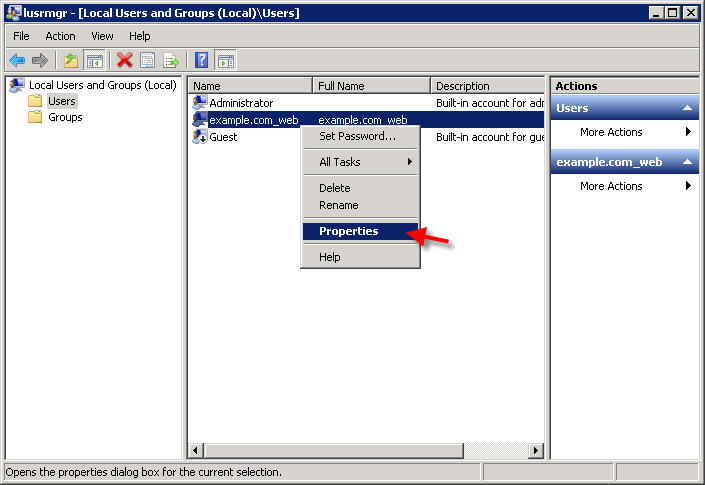
Close the New User window, and right-click on the new user you just created, and select Properties:
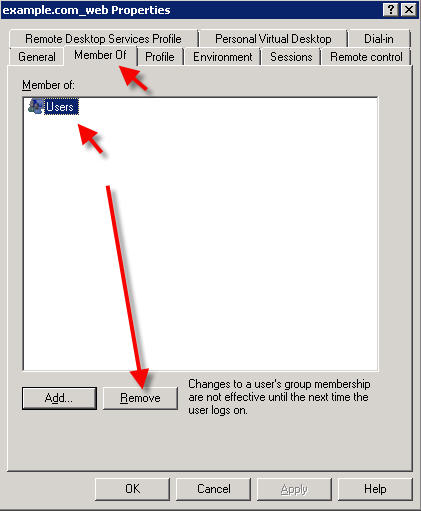
Click the “Member of” tab, and REMOVE the “Users” group membership:
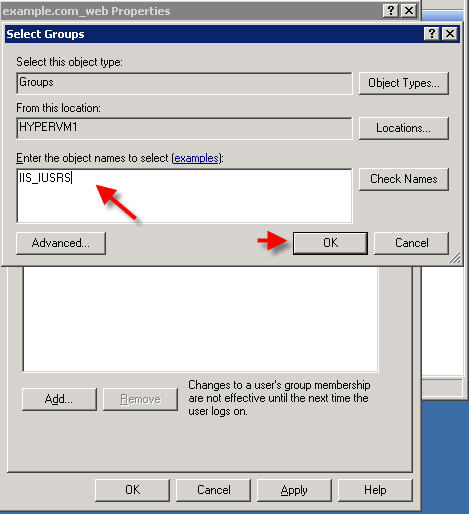
Next, click the Add button, and add the user to the IIS_IUSRS group:
Now you should only have your user a member of the IIS_IUSRS group.
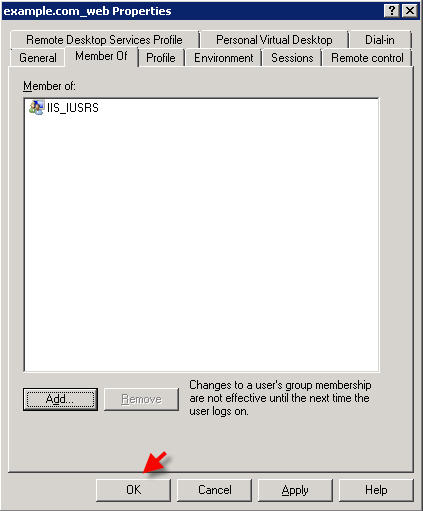
Click OK, and close out of the Local Users and Groups control panel.
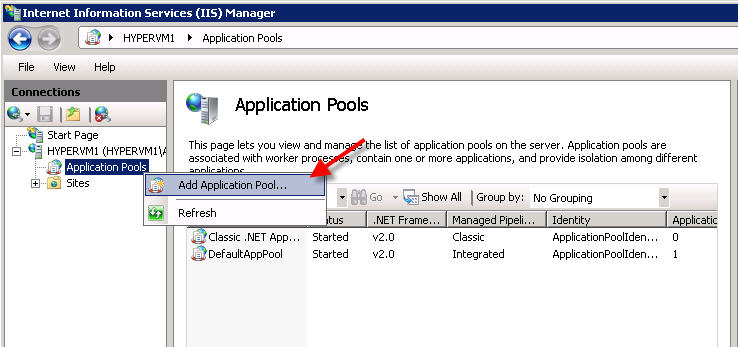
CREATE THE APPLICATION POOL:
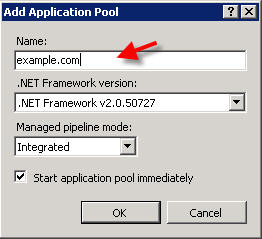
Open IIS, and right-click on the Application Pools folder, and select ‘Add Application Pool’
Name your application pool and click OK:
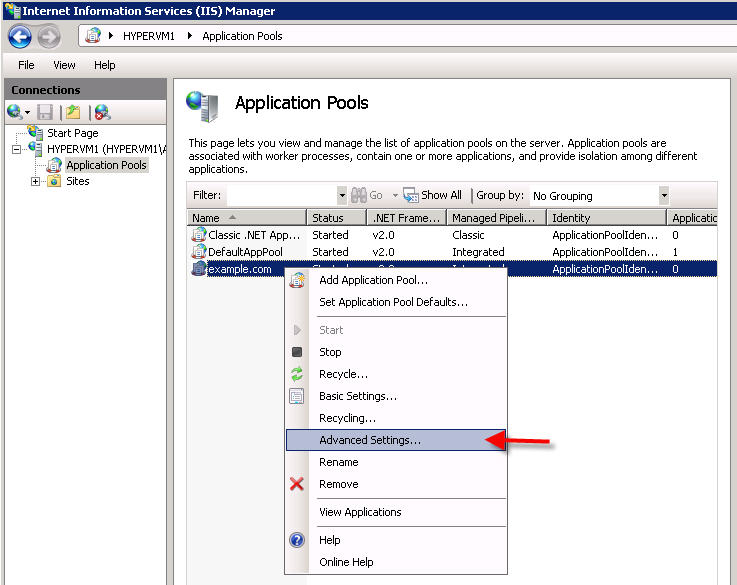
Then, right-click on your new application pool, and select ‘Advanced Settings’:
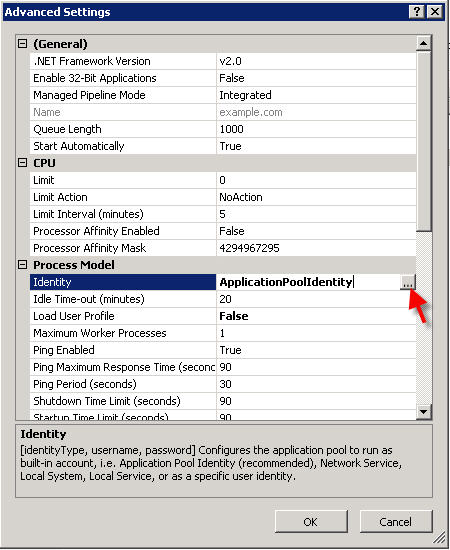
In the Advanced Settings window, click the browse button next to the default Identity:
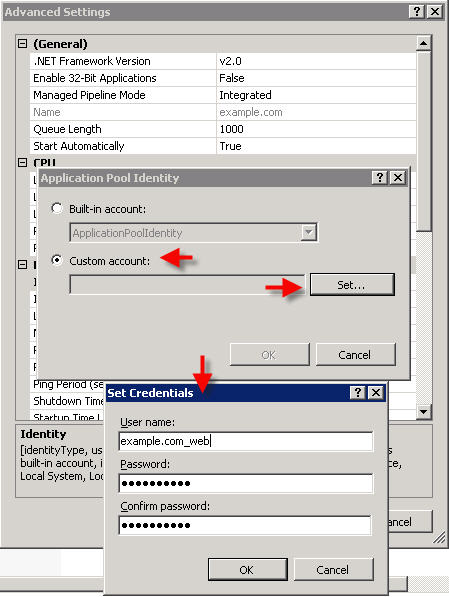
Select ‘Custom Account’, click ‘Set‘, and enter the user information you created earlier:
Click OK several times to close out of all the windows.
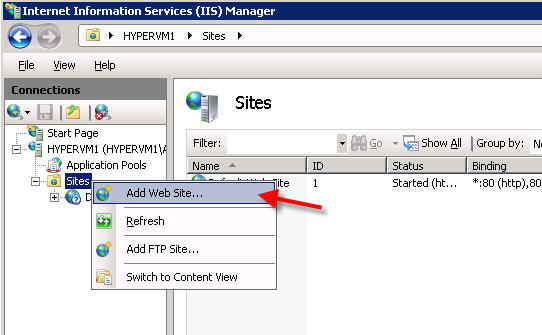
Now, add your web site in IIS (or modify your existing site if you have already created a site)
ADD NEW WEB SITE:
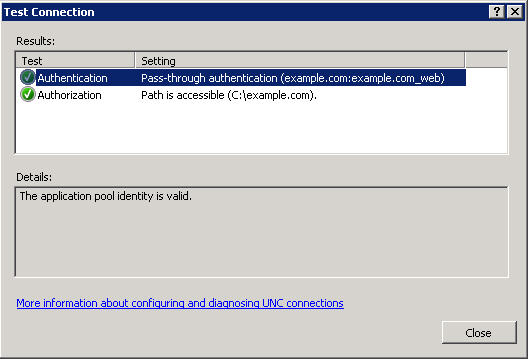
Enter your site details, and then click the ‘Test Settings’ button to test:
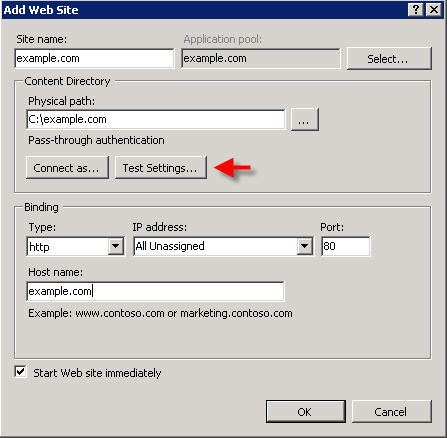
and ensure that all tests pass:
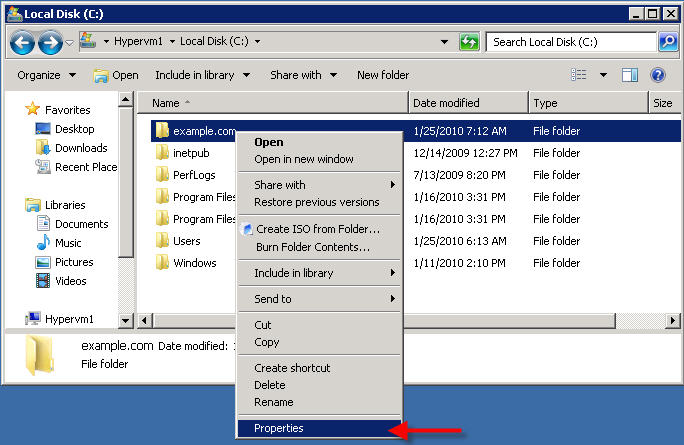
SET NTFS PERMISSIONS
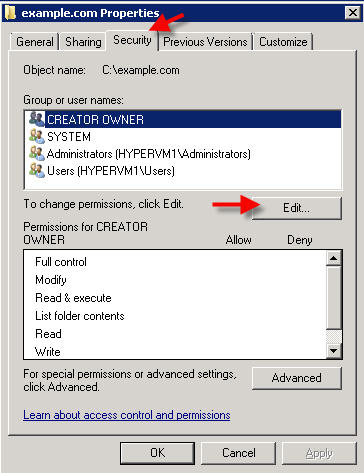
You now need to provide the IUSR user created above with permissions to the web site folder. Browse in your hard drive to the folder you created for your web site, right-click the folder and select ‘properties’
Click the ‘Security‘ tab, and click ‘Edit‘
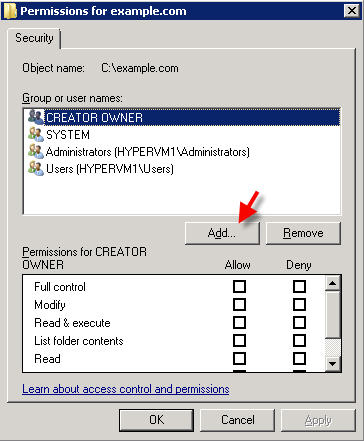
On the next screen, click ‘Add‘
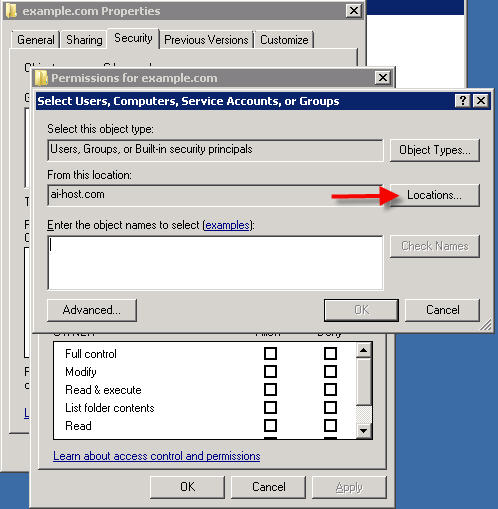
On the Select Users, Computers, Service Accounts, or Groups window, click the ‘Locations’ button:
CLICK CANCEL if you are asked to provide credentials:
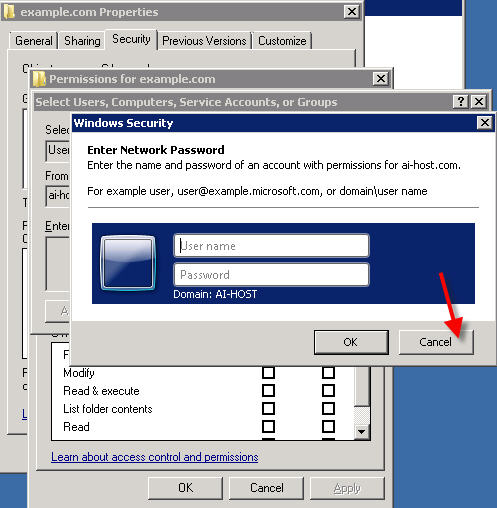
and on the next screen, click on YOUR SERVER NAME, and click OK:

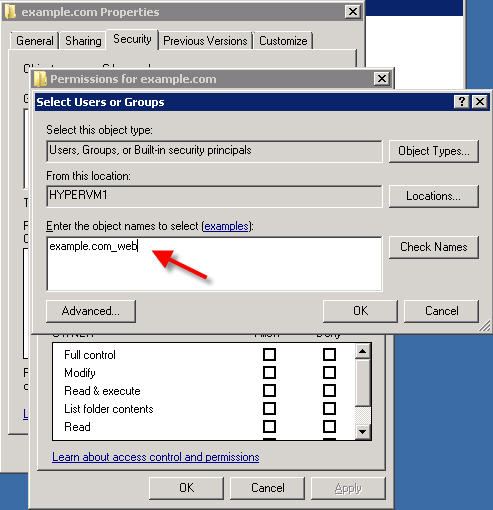
Now in the Select Users or Groups window, type the username you created earlier and click OK:
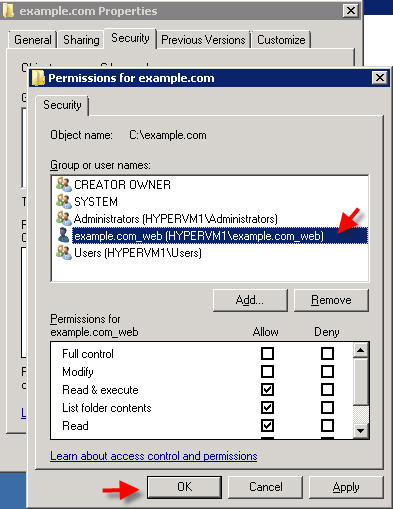
Make sure your IUSR user is selected. You can add write permissions if needed, but otherwise to accept the default settings, click OK:
Click OK on any remaining windows to close out of the settings.
You have now configured a web site identity user, application pool, and web site.
Content retrieved from: https://support.appliedi.net/kb/a106/how-to-manually-create-a-site-application-pool-identity-in-iis7.aspx.