This tutorial will show you how to install and configure DNS services on your dedicated server or VPS server.
This tutorial assumes you are not using a control panel system such as Helm or Plesk (if you are then the DNS setup is automatically done for you when you add a domain to your server through your control panel)
If you would like to run your own DNS service, you first need to install the DNS service in Windows 2003:
1)
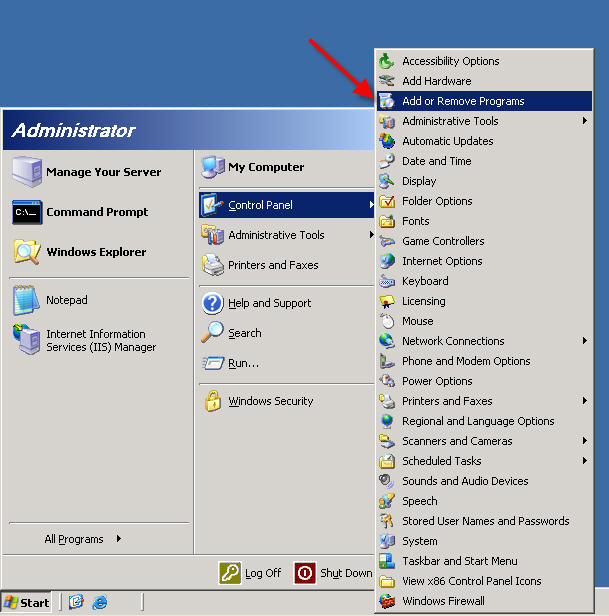
To install the DNS service, go to Start -> Control Panels -> Add or Remove Programs:
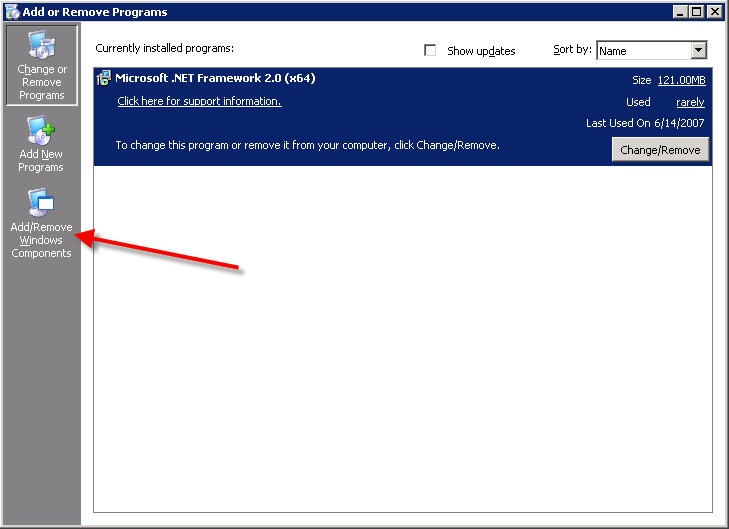
Click on the ‘Add/Remove Windows Components’ button:
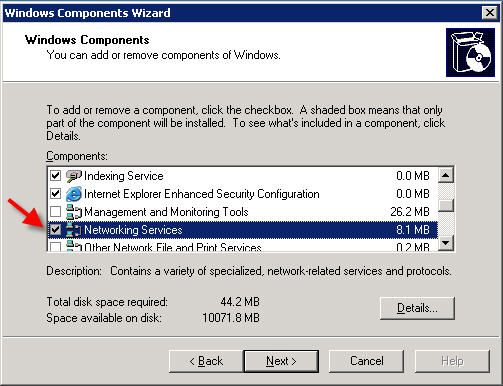
Double-click on ‘Networking Services’:
Place a check-mark in the box titled "Domain Name System (DNS)"
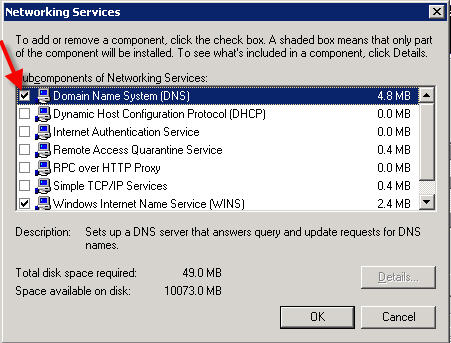
Press OK, and then press NEXT.
If you get a window asking for a Windows CD-ROM or Service Pack CD-ROM, please contact support with your VPS information and request that we mount this disk(s) for you.
Once the CD is mounted simply tell the installer where to find the files (browse to the mounted CD) and the installation should complete.
2)
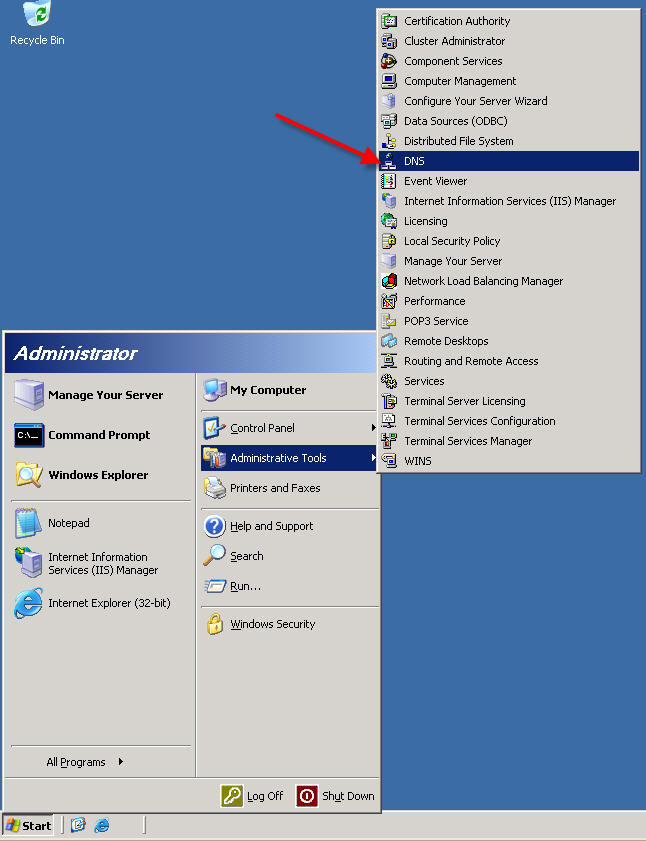
Once DNS services have been installed, open the DNS Manager by going to Start –> Administrator Tools –> DNS
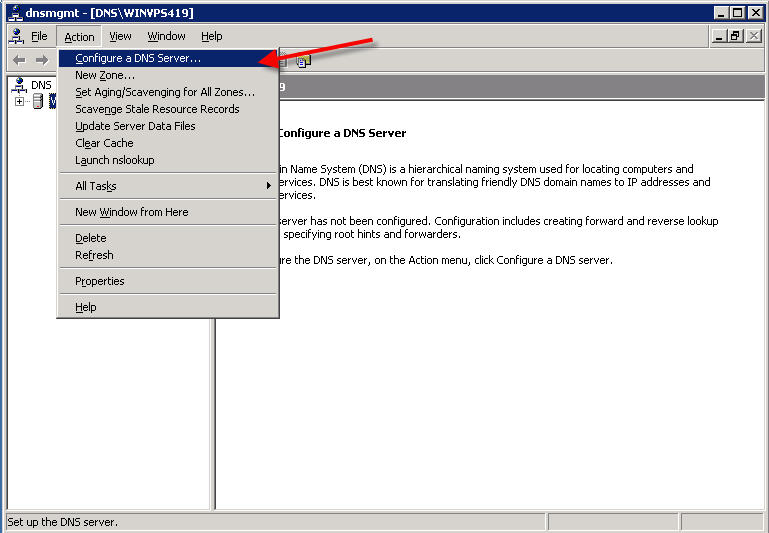
Go to the ‘Action’ menu and select ‘Configure a DNS Server…"
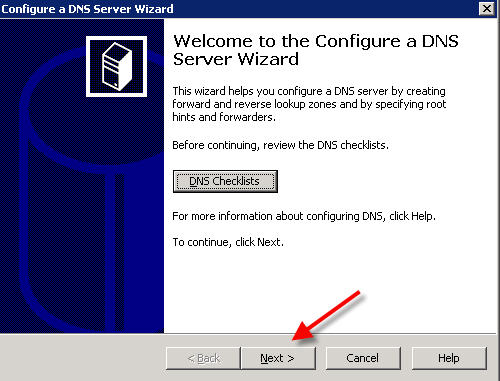
Click Next
Select the option ‘Create a forward lookup zone’
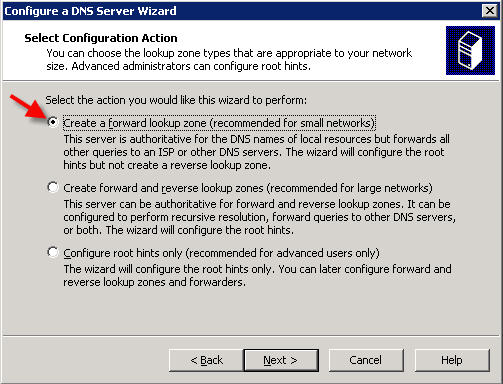
Click Next.
On the next screen, select the option ‘This server maintains the zone’

Click Next.
Enter your domain name in the Zone Name box:
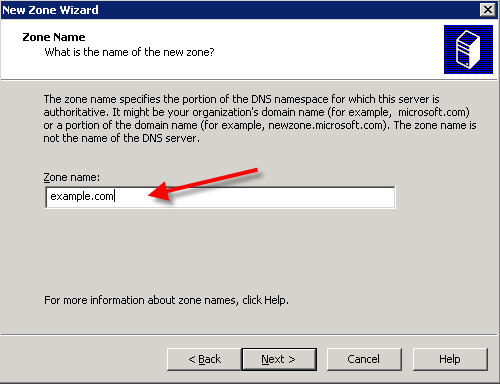
Click Next.
Click Next again at the next screen:
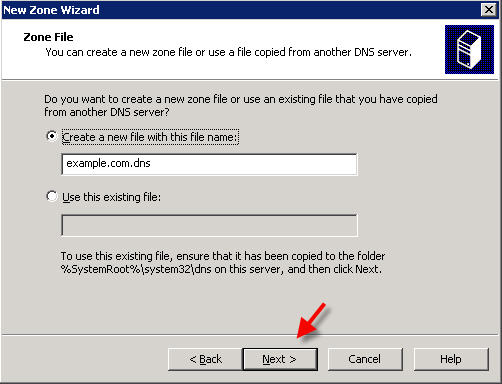
click Next again:
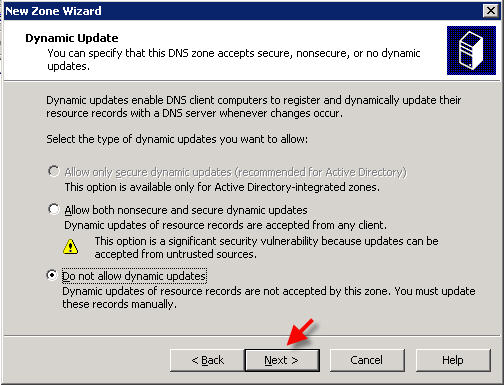
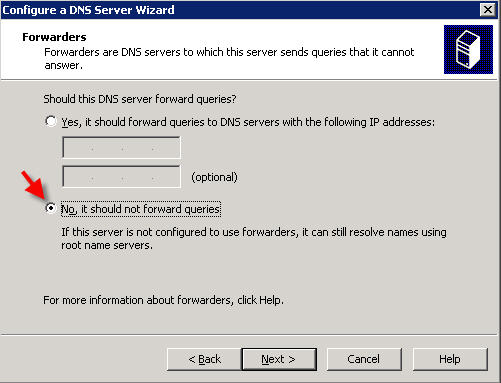
On the Forwarders screen, select ‘No’ and click Next:
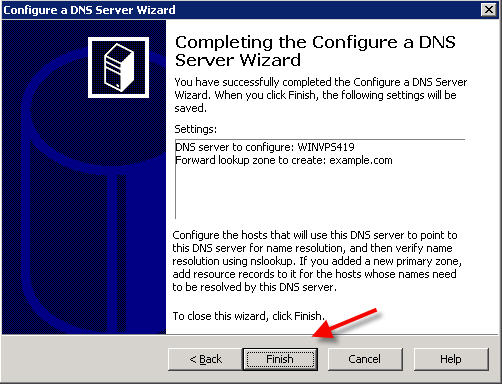
Click Finish:
3)
Now you’ll need to add A records for your nameservers.
Click the + sign to expand your server name, and expand the Forward Lookup Zones, and click on the domain you wish to configure:
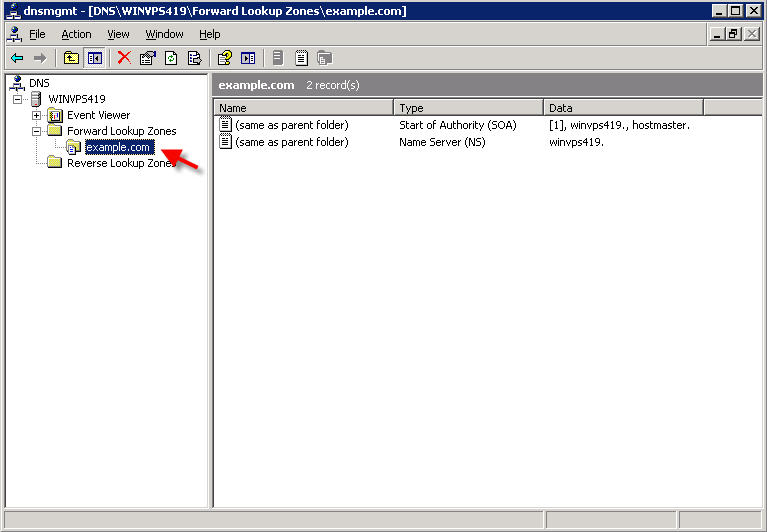
Right click on your primary domain and select "New Host (A)…"

Enter ns1 in the name box, and the IP address of your primary nameserver in the IP address box:
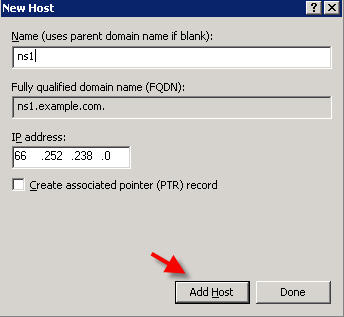
Click ‘Add Host’
Repeat the above steps to add your secondary nameserver (ns2). Click ‘Done’ when finished.
Right-click on the Start of Authority record, and select ‘Properties’:

Enter the name of your primary nameserver in the "Primary Server" box, and the responsible person’s email address for your server in the Responsible person box (NOTE: you must use a period instead of an @ sign in the email address. So for example, if the address you want to add is hostmaster@example.com, you need to enter hostmaster.example.com in this box)
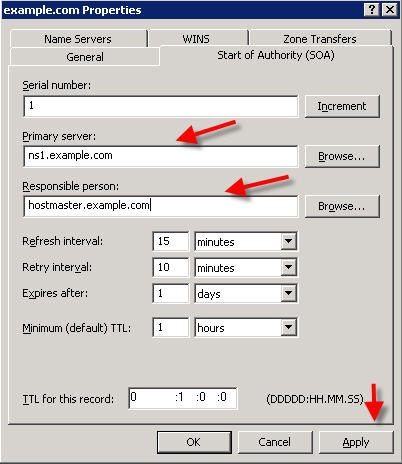
Click Apply.
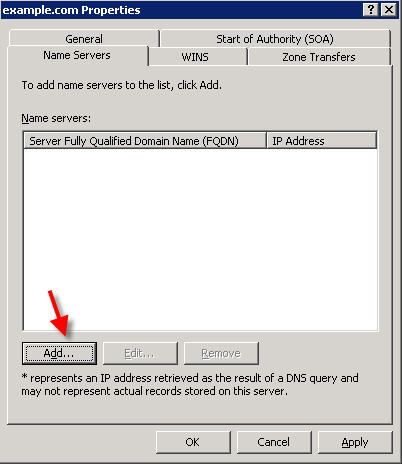
Click on the ‘Name Servers’ tab.
If any nameservers are already listed in this screen, click on them and remove them. After removing existing nameservers, click the Add button:
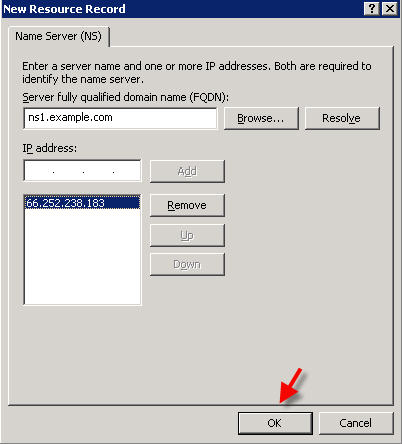
Enter the name of your primary nameserver and click "Resolve"
The IP address of your primary nameserver will now appear in the box below. Click OK:
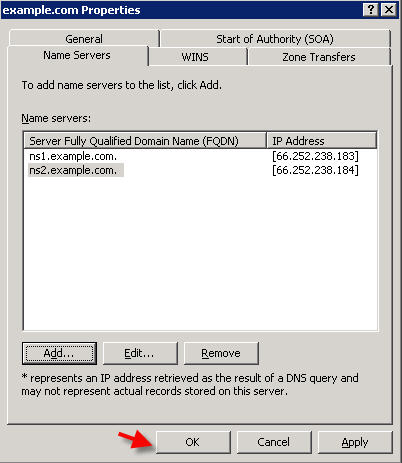
Click ‘Add‘ again, and follow the same steps to add your secondary nameserver.
4)
Now you’ll want to add three more ‘A’ records:
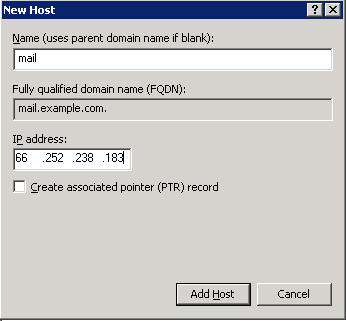
1) mail
2) www
3) (blank, so that your domain will work without a www in front)
Right click on the domain, and choose ‘New Host (A)…‘
and add each of the above, pointing to the same IP address as this domain.
(if you are configuring the ‘mail’ A records for additional domains on your server, use the main server IP for the mail A record as that is the IP your mail server should be using)
Repeat the same step as above to add ‘www’ and blank.
Click ‘Done‘ when finished.
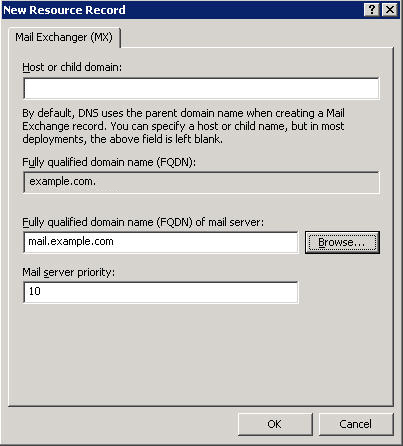
The last entry you need to add is the MX mail entry. Right click on the domain and select ‘New Mail Exchanger (MX)…’

Enter the name into the FQDN of the mail server and click OK:
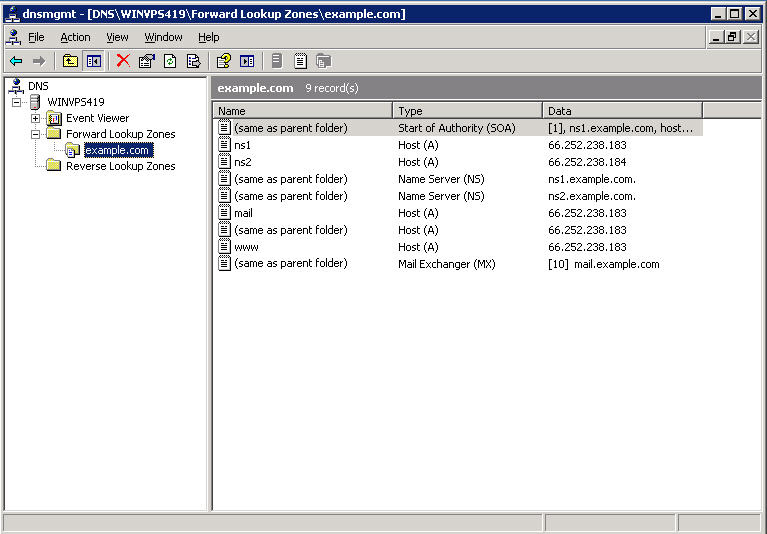
You have now completed the DNS setup for your primary domain:
5)
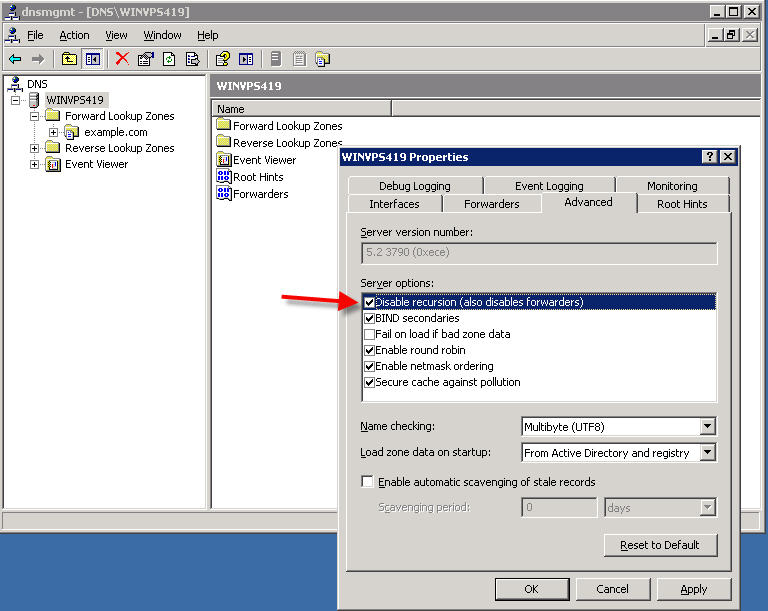
Disable DNS Recursion:
In the DNS MMC, right click on your server name, and select Properties:

Go to the ‘Advanced‘ tab, and place a checkmark in the box "Disable Recursion" and press OK:
6)
The last thing you’ll need to do is to register your nameservers at your domain’s registrar. We have tutorials for the most common domain registrars at http://support.appliedi.net/kb/c58/creating-private-name-servers.aspx
Content retrieved from: https://support.appliedi.net/kb/a104/how-to-manually-install-and-configure-windows-dns-in-windows-2003-dedicated-vps-servers.aspx.