Note: The steps in this support article only apply to you if your site uses the Awesome® Shared Hosting MSPControl™ Panel at https://portal.awesomehosting.com.
How do I know what control panel my site uses? Visit to determine what control panel your site uses.
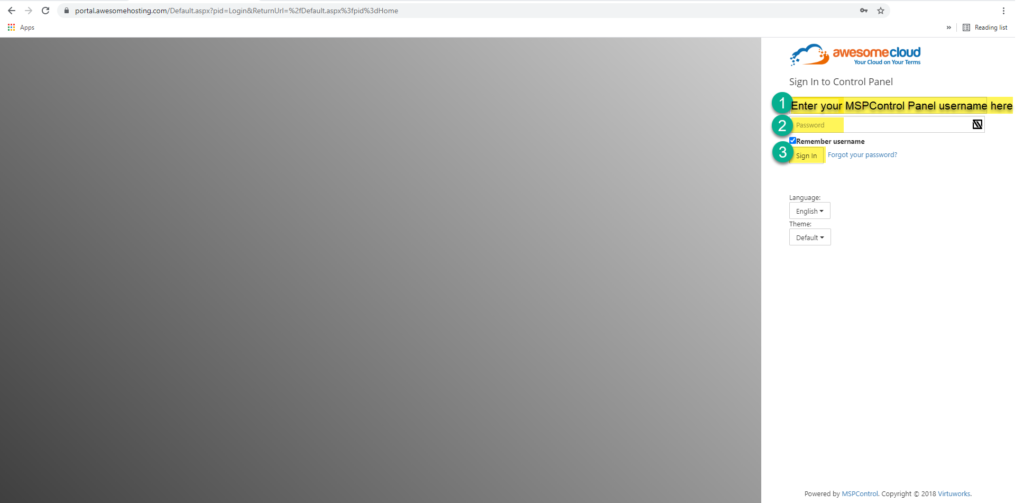
1. Log-in to the Awesome® Shared Hosting™ MSPControl Panel at https://portal.awesomehosting.com with the username and the password associated with your control panel account, as shown in Screenshot 1 attached. (If you no longer have the password, it can be reset online by clicking the password-reset link at the bottom of the control panel’s login page.)
The screenshot below is a zoom-in of the screenshot above.
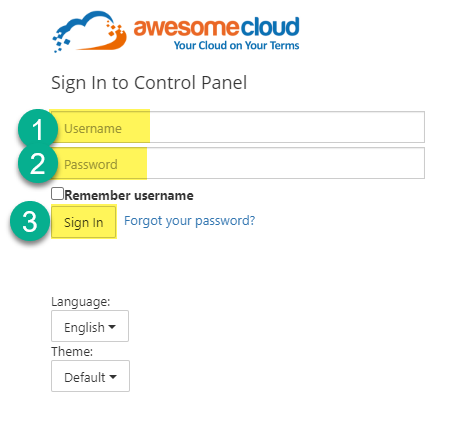
(Please be advised that the username is intentionally truncated because there is an 8-character limit for the username.)
The MSPControl Panel provides comprehensive access to all administrative and technical, features in one place. Within this portal, you can manage your current web hosting packages, add extra features, manage domains, modify or reset your password, edit your personal details, or select various website settings. We encourage you to familiarize yourself with the MSPControl Panel if you haven’t done so already.
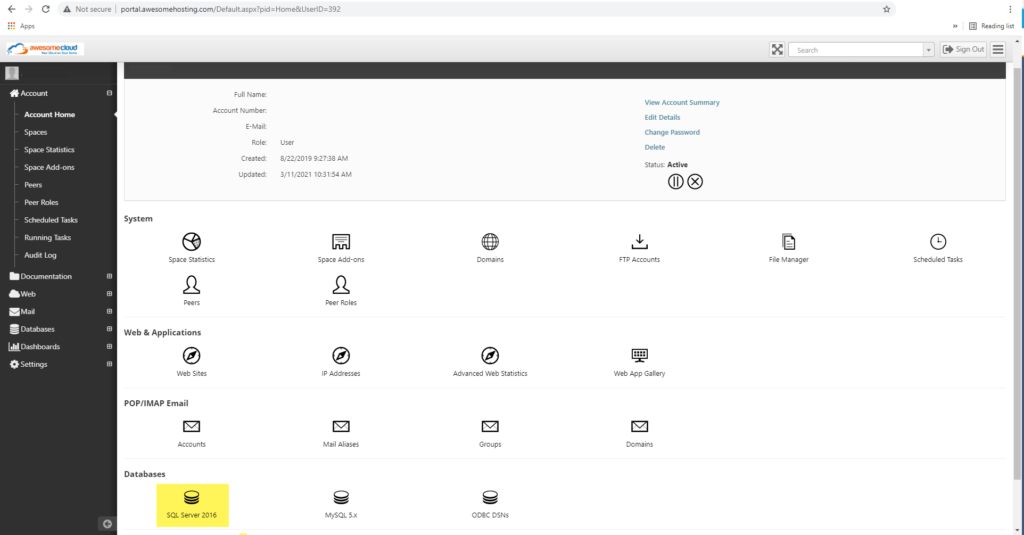
2. Once logged-in, scroll down to the bottom of the page and click “SQL Server 2016” located under the heading “Databases,” as shown below.
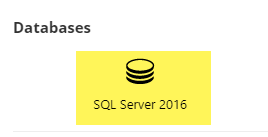
The screenshot below is a zoom-in of the screenshot above.
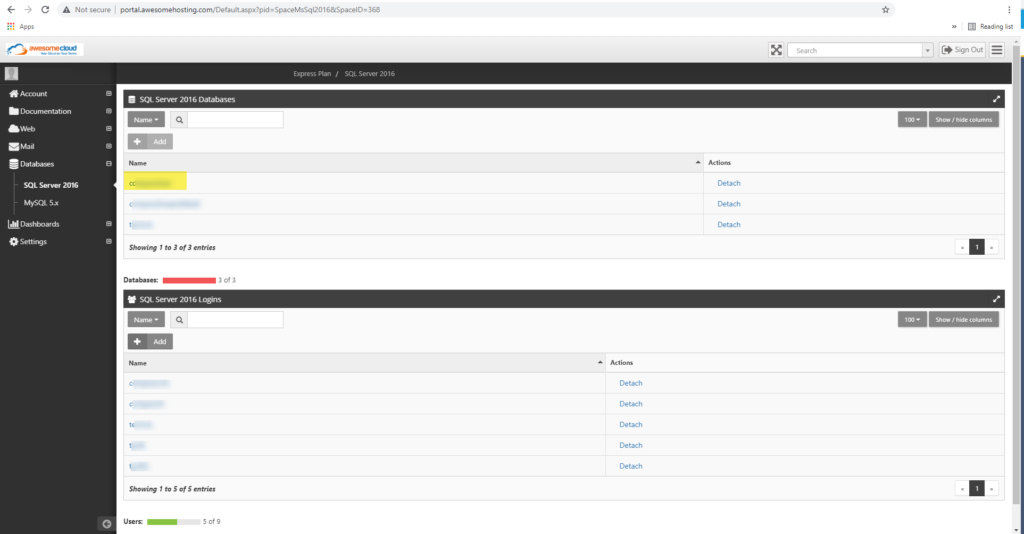
3. Here you will see all databases listed, as shown below. Click the name of the database you wish to backup locally.
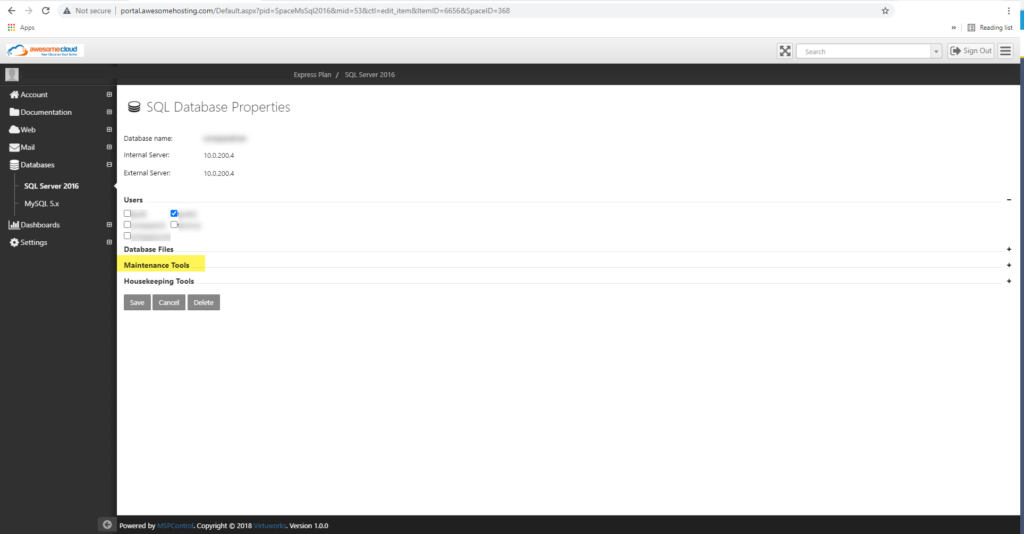
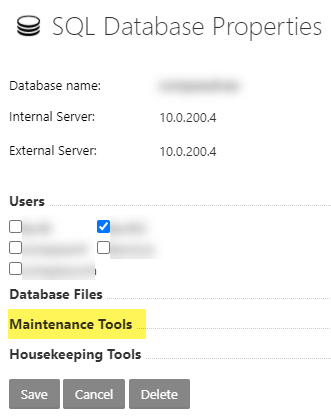
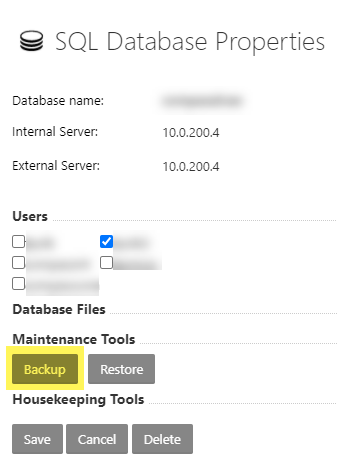
4. Click the text “Maintenance Tools” to expand the options in the drop-down menu, as shown below.
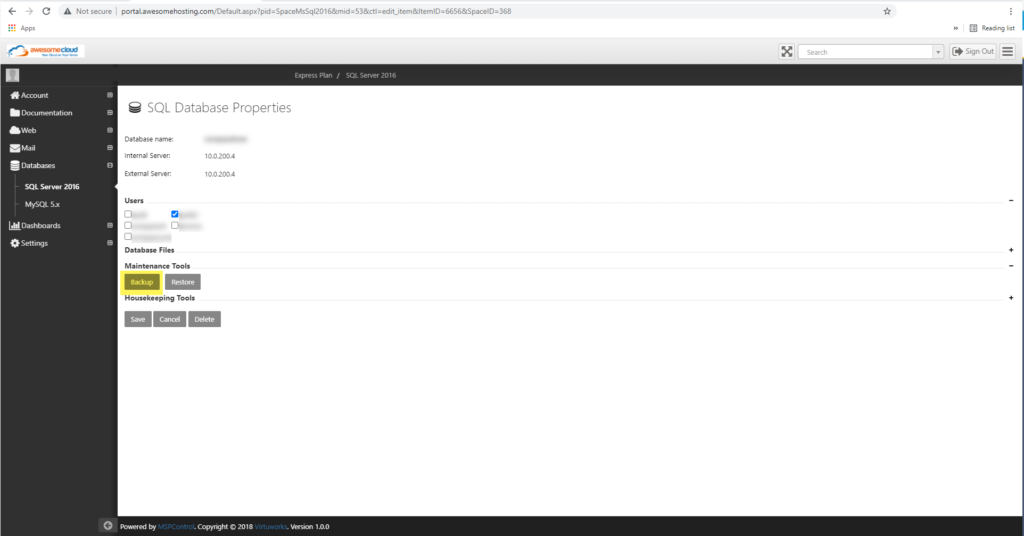
5. Click “Backup,” as shown below.
6. Here, you will see an option to select a “Backup Destination” (where you want to save this SQL backup to). In order to save it locally, select the option “Download via HTTP” and then click “Backup,” as shown below.
7. You should see the database backup start to download in your web browser, as shown in Screenshot 7 attached. The SQL backup file will be saved to the “Downloads” folder or the default downloads’ location as specified by your computer’s Windows operating system or Apple MacOS.
8. Once completed and after you have verified that you have the desired databases, click “Cancel” in the MSPControl Panel to return to the previous list of “SQL Server Database Properties,” as shown in Screenshot 8 attached.
9. Click “Cancel” one more time to return to the list of “SQL Server 2016 Databases,” as shown in Screenshot 9 attached.
10. Repeat Steps 3 to 10 for each additional database you wish to backup, as shown in Screenshot 10 attached.