You can configure your Android smartphone to check connect to your email server via POP3 or IMAP.
We recommend IMAP so that you are not downloading email messages to your phone which can consume a lot of disk space over time.
The following instructions will help you configure your email account via IMAP.
On your Android device, click the Settings button:

You should see this screen below:
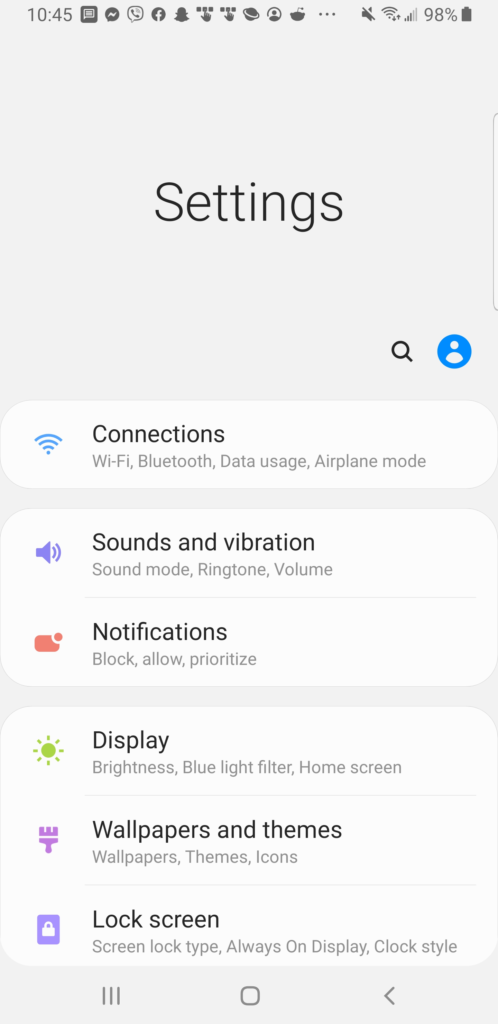
Scroll down until you see an option for “Accounts and backup, then tap on Accounts and backup.

You should see this screen below. Tap Accounts.

You should see the following screen (example shown below). Scroll all the way down to the bottom until you see the option to add an account.

Tap + Add Account (as shown below).

Tap Email (as shown below).

Tap Other (as shown below).

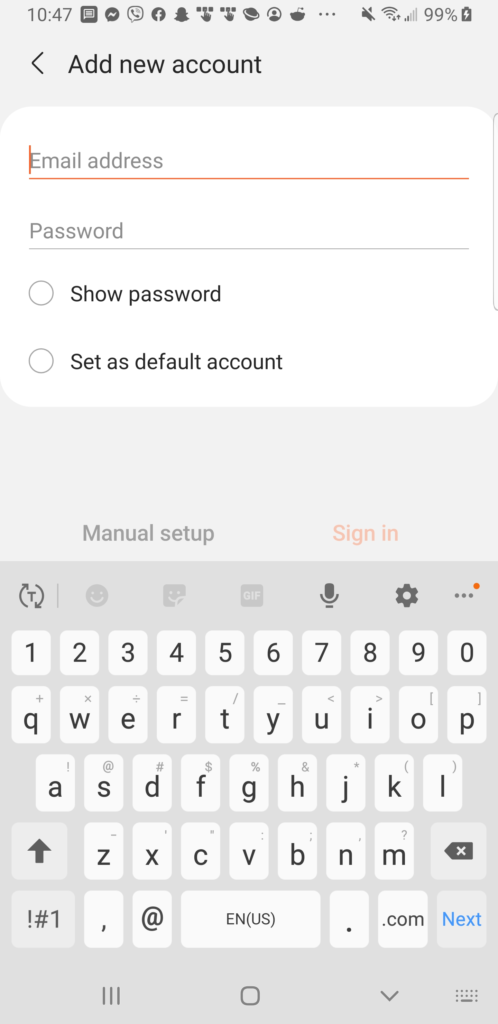
Follow the on-screen prompts as shown below:
Enter the e-mail address and password of the mailbox you wish to configure on your phone, then click Sign In.
For 3G / pre-2009 Android devices, steps are below:
How do I set up an e-mail account on an Android Phone?

You can configure your Android phone to check connect to your email server via POP3 or IMAP.
We recommend IMAP so that you are not downloading email messages to your phone which can consume a lot of disk space over time.
The following instructions will help you configure your email account via IMAP.
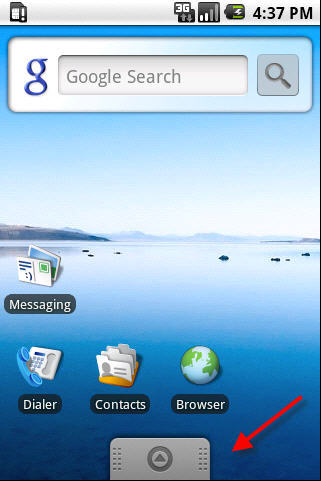
On your Android device, click the Menu button to view the installed applications on your phone:
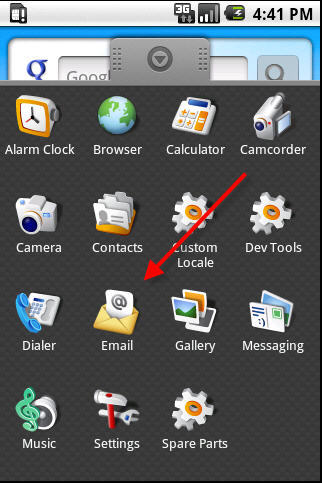
Click on the Email icon to launch the Email application:
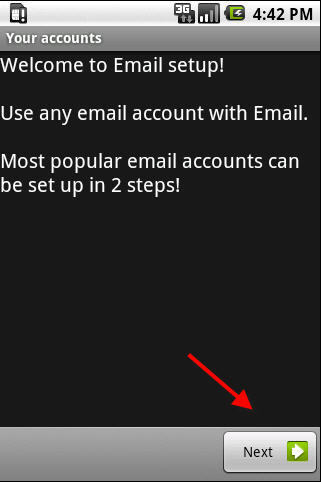
Click Next on the following screen
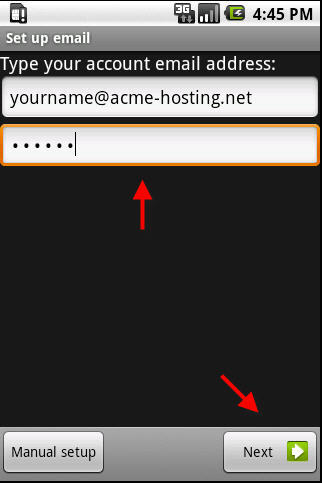
Enter your email address and your email password and click Next
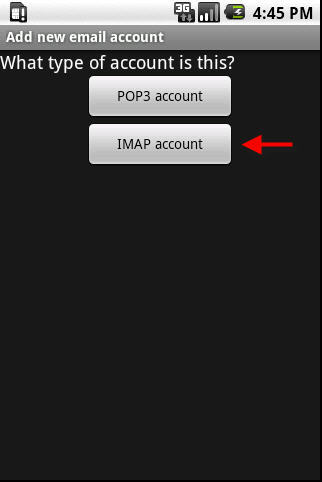
Select IMAP account
Enter your full email address in the Username field, and enter your email password, mail server (in the format of mail.yourdomain.com), leave the rest of the settings as default and click Next
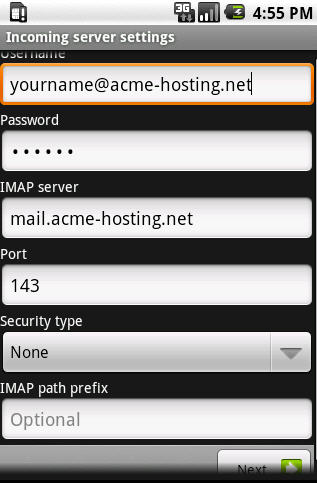
After clicking Next, a connection will be made to the mail server to test your settings:
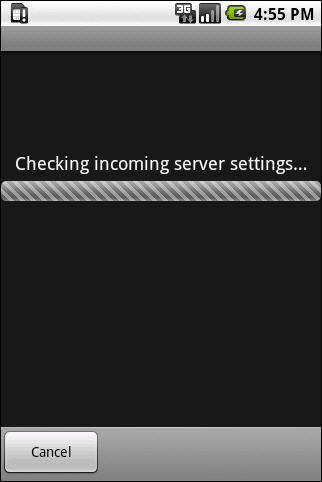
If the connection test is successful, you will then be taken to the Outgoing Mail Server settings screen below.
Enter your mail server again in the format of mail.yourdomain.com and enter your email address in the Username field:
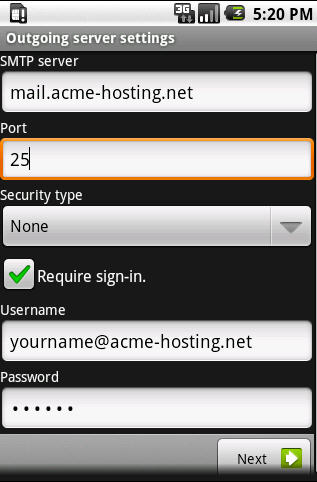
Click Next and a connection test will be made to confirm your outgoing mail server settings:
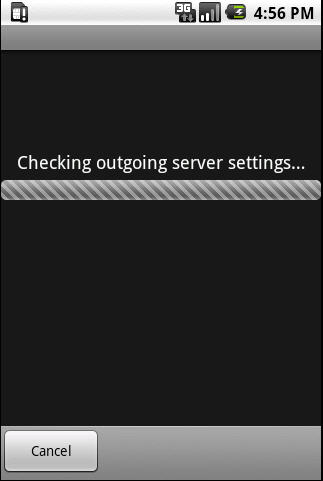
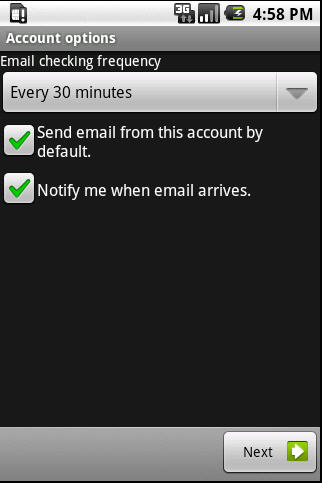
After the test is complete, you will be presented with a screen to configure your preferences.
Set your preferences and click Next
Specify a name for your email account (useful if you may want to setup more than one email account on your phone), and enter the name you want displayed as your name when you send email:
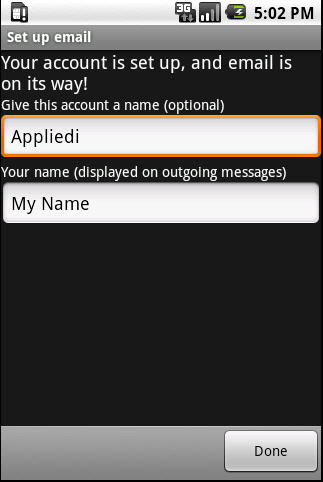
Click Done.
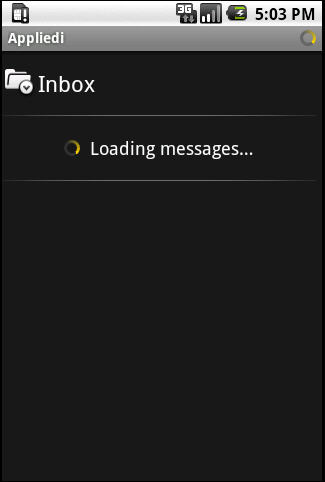
Your phone will now check your email account and display any messages in your email account:
You can test by sending yourself a test message from another email account and verify that you can view the new email message on your Android phone:
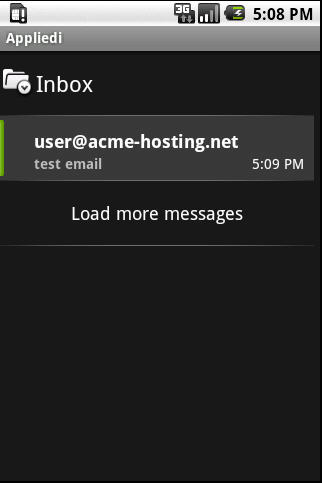
Congratulations! You have successfully setup an IMAP email account on your Android Phone.
Content retrieved from: https://support.appliedi.net/kb/a210/how-do-i-set-up-an-e-mail-account-on-an-android-phone.aspx.
